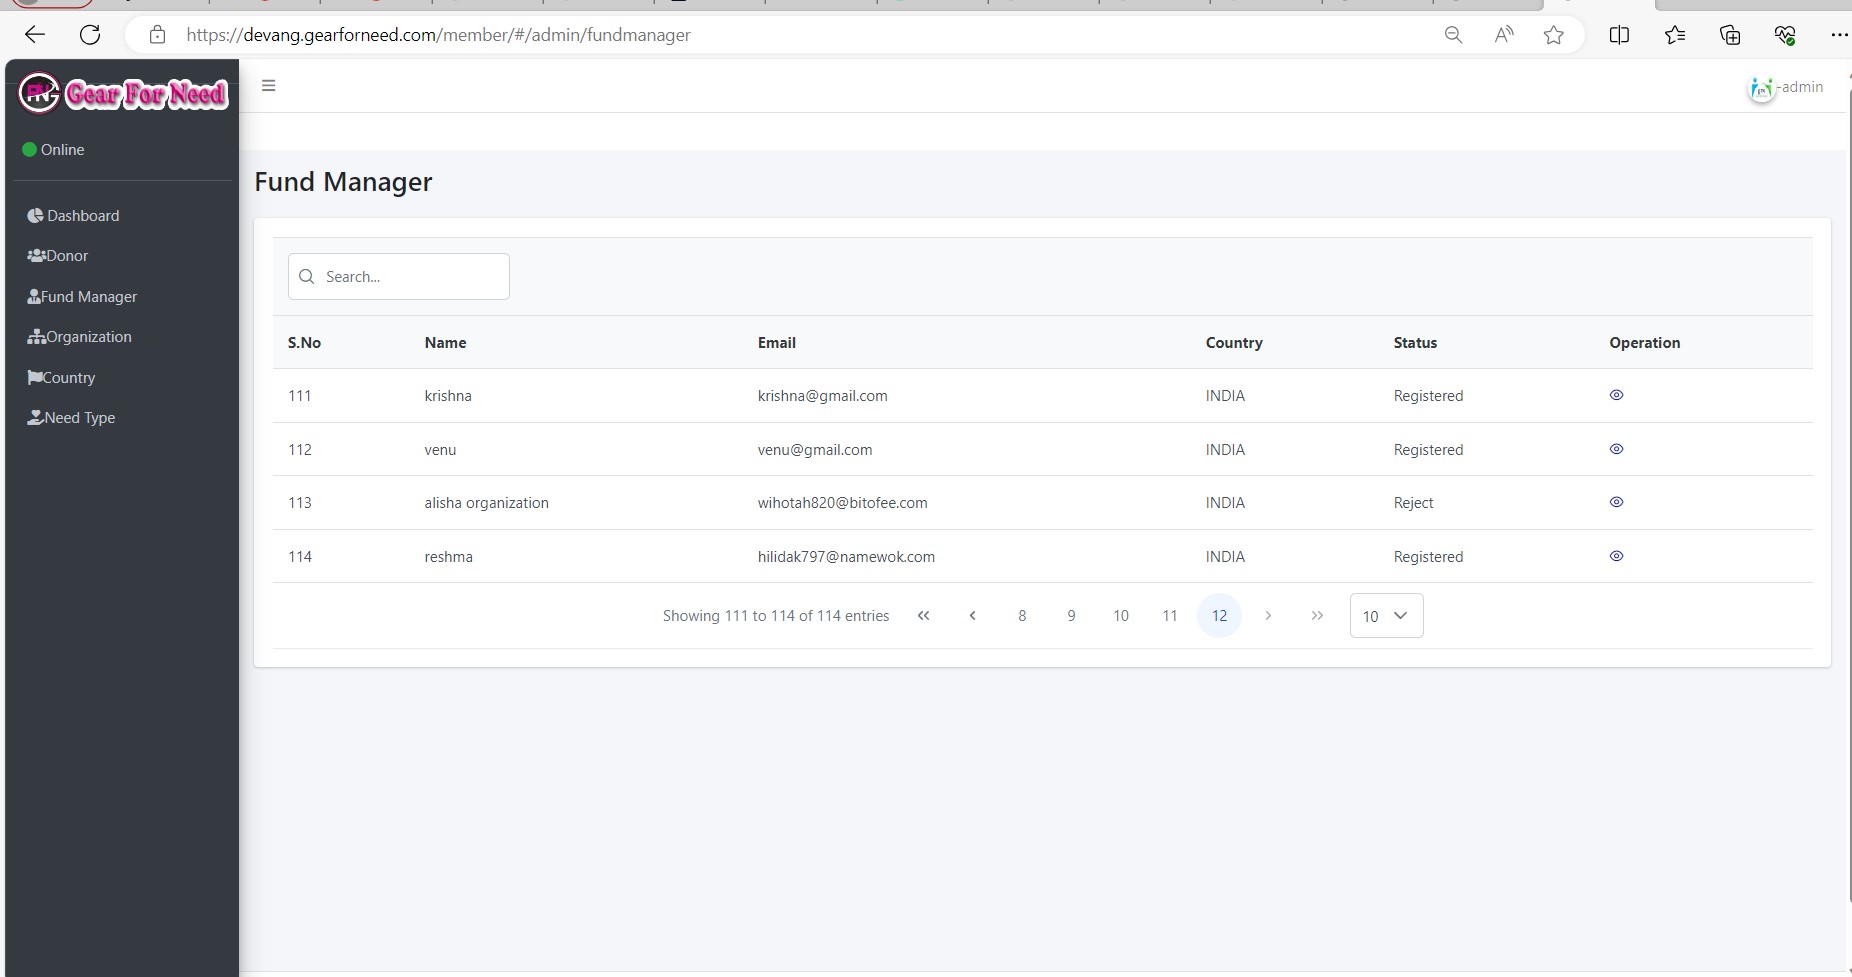
FUND MANAGER REGISTRATION:
To join in GFN system first FUND MANAGER signup with valid data like First Name , Last Name , Email , Password and country. Email and Password is used to login after Fund Manager is approved.
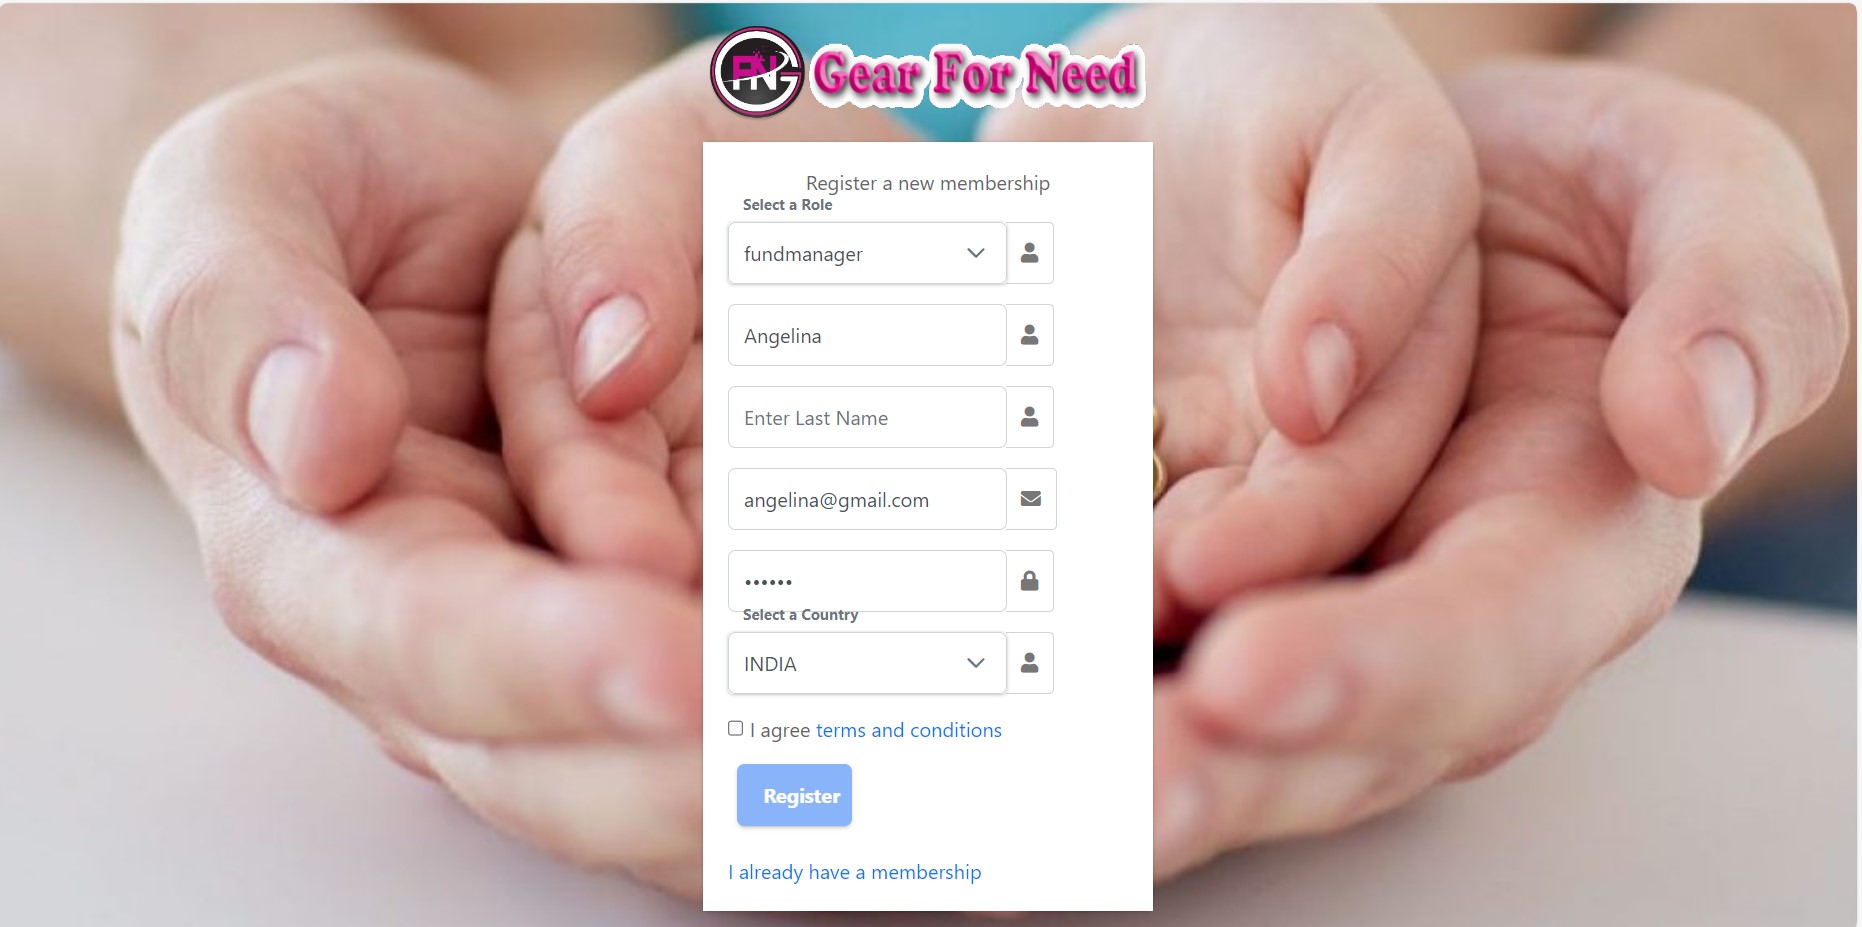
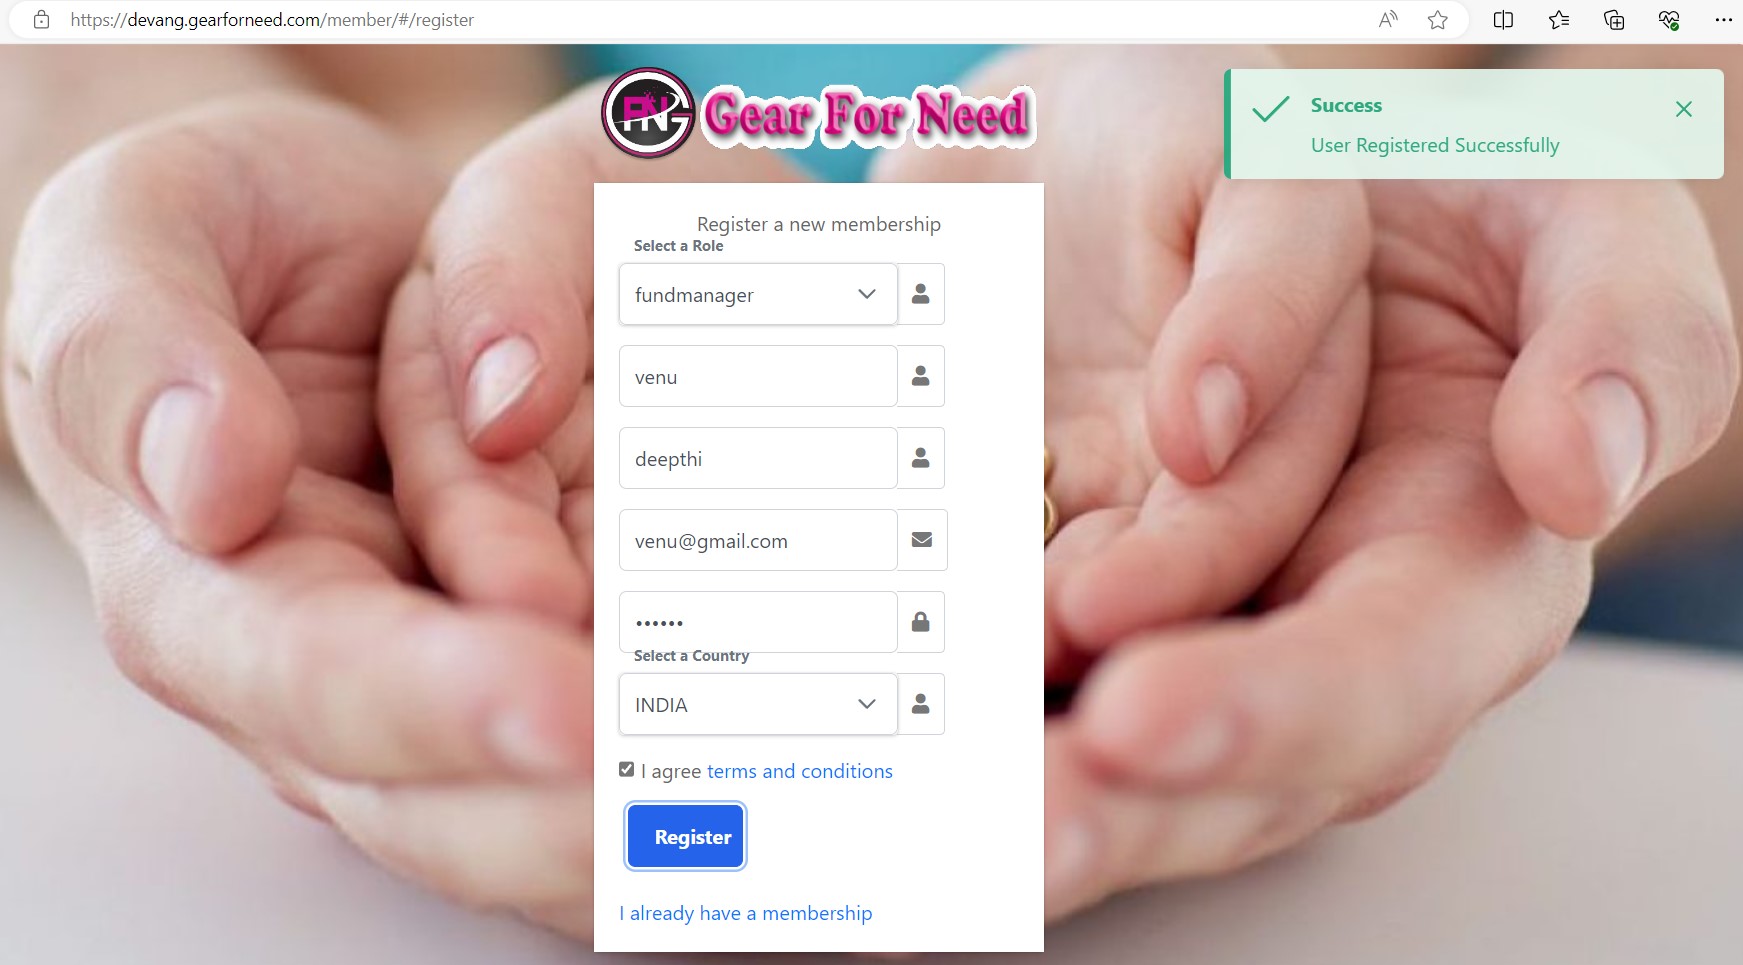
After enter the data click Sign Up then a success message appears that Hospital registered successfully as shown below.
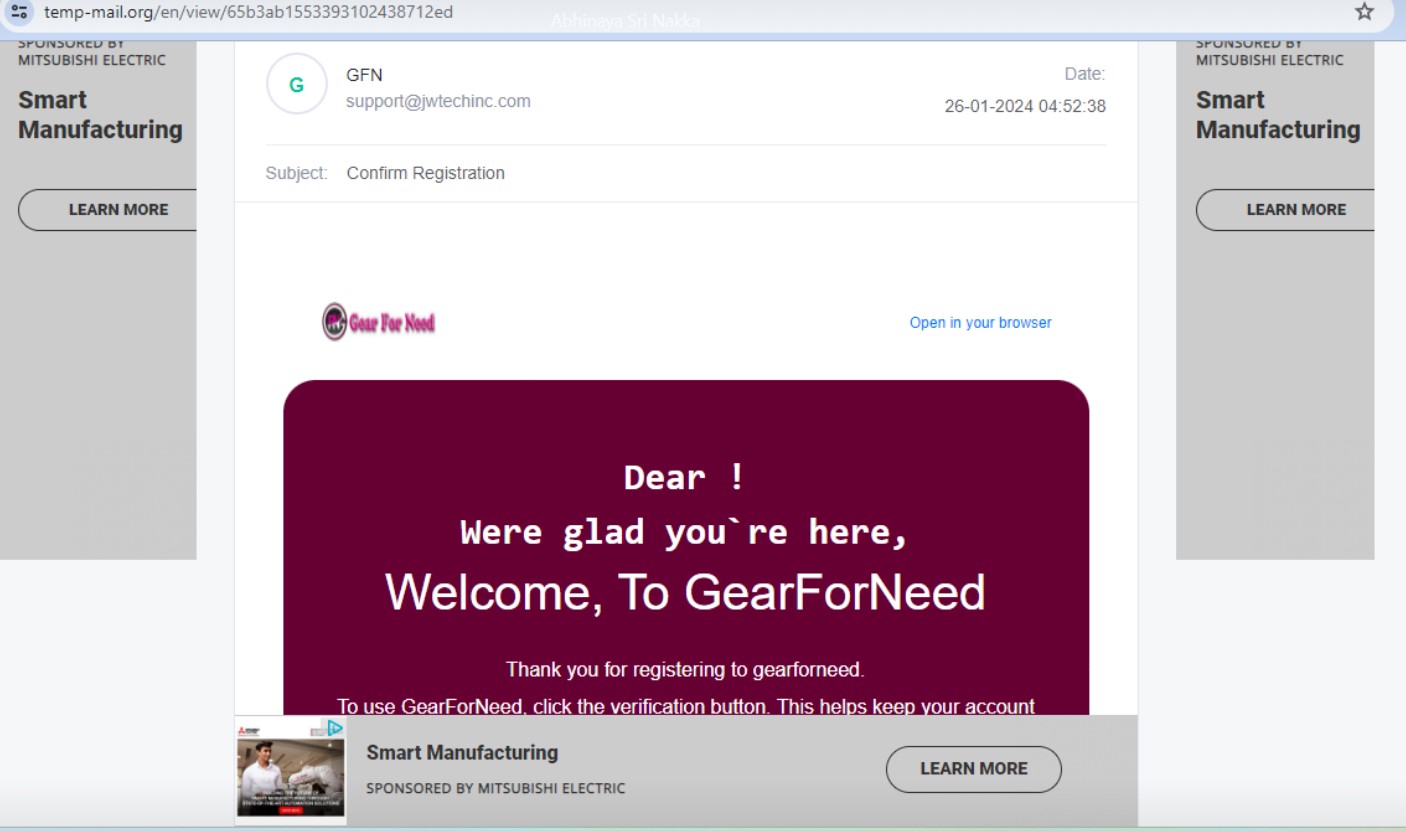
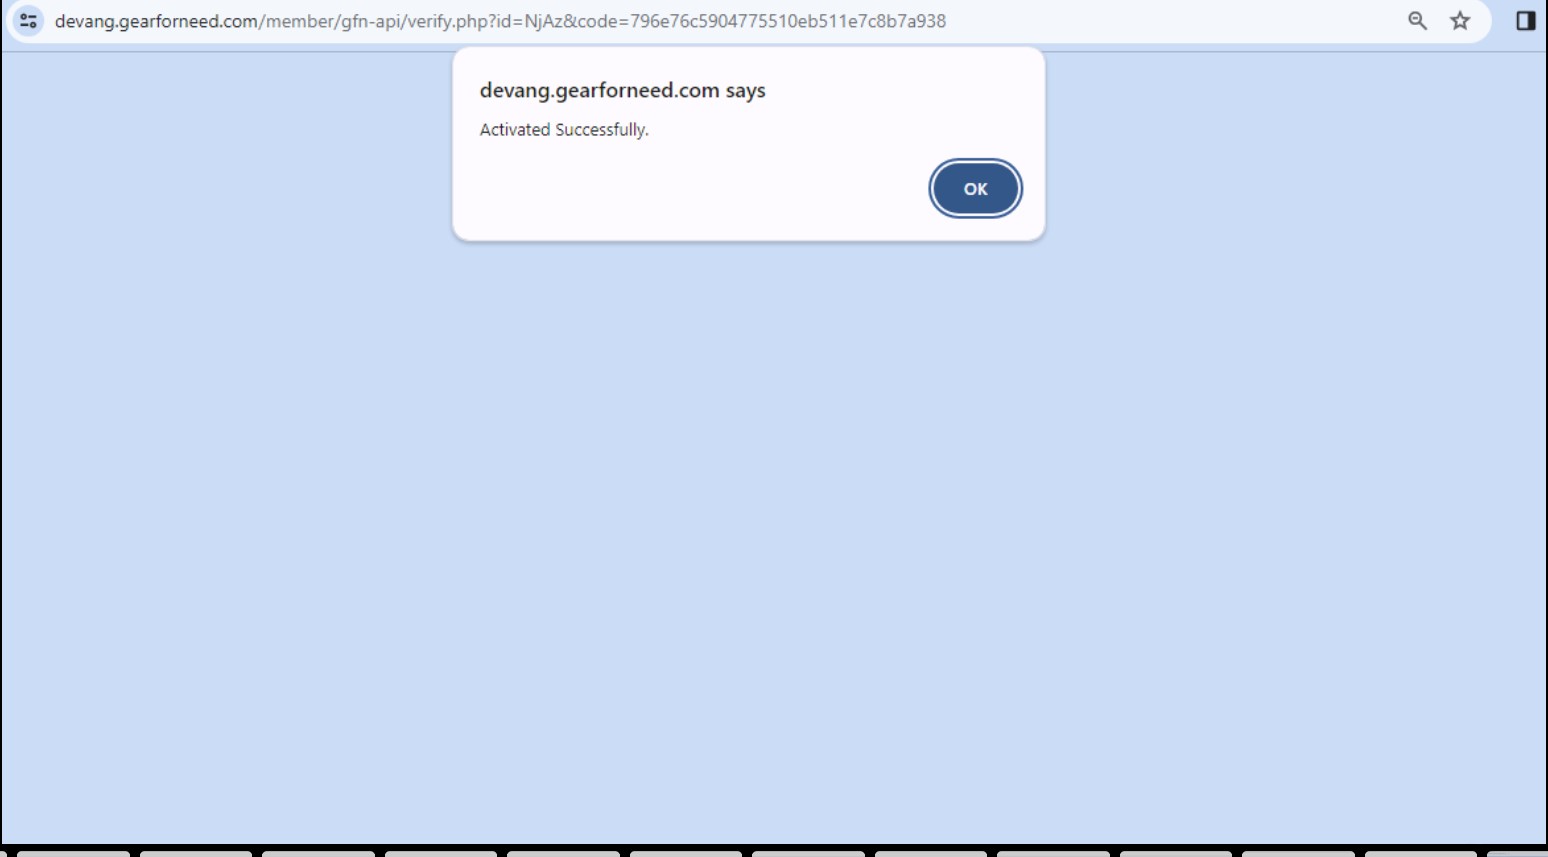
Now go for mail verification to get Confirm registration alert message from GFN. Click on the message and then click on activation link
After that fund manager get a success message like this
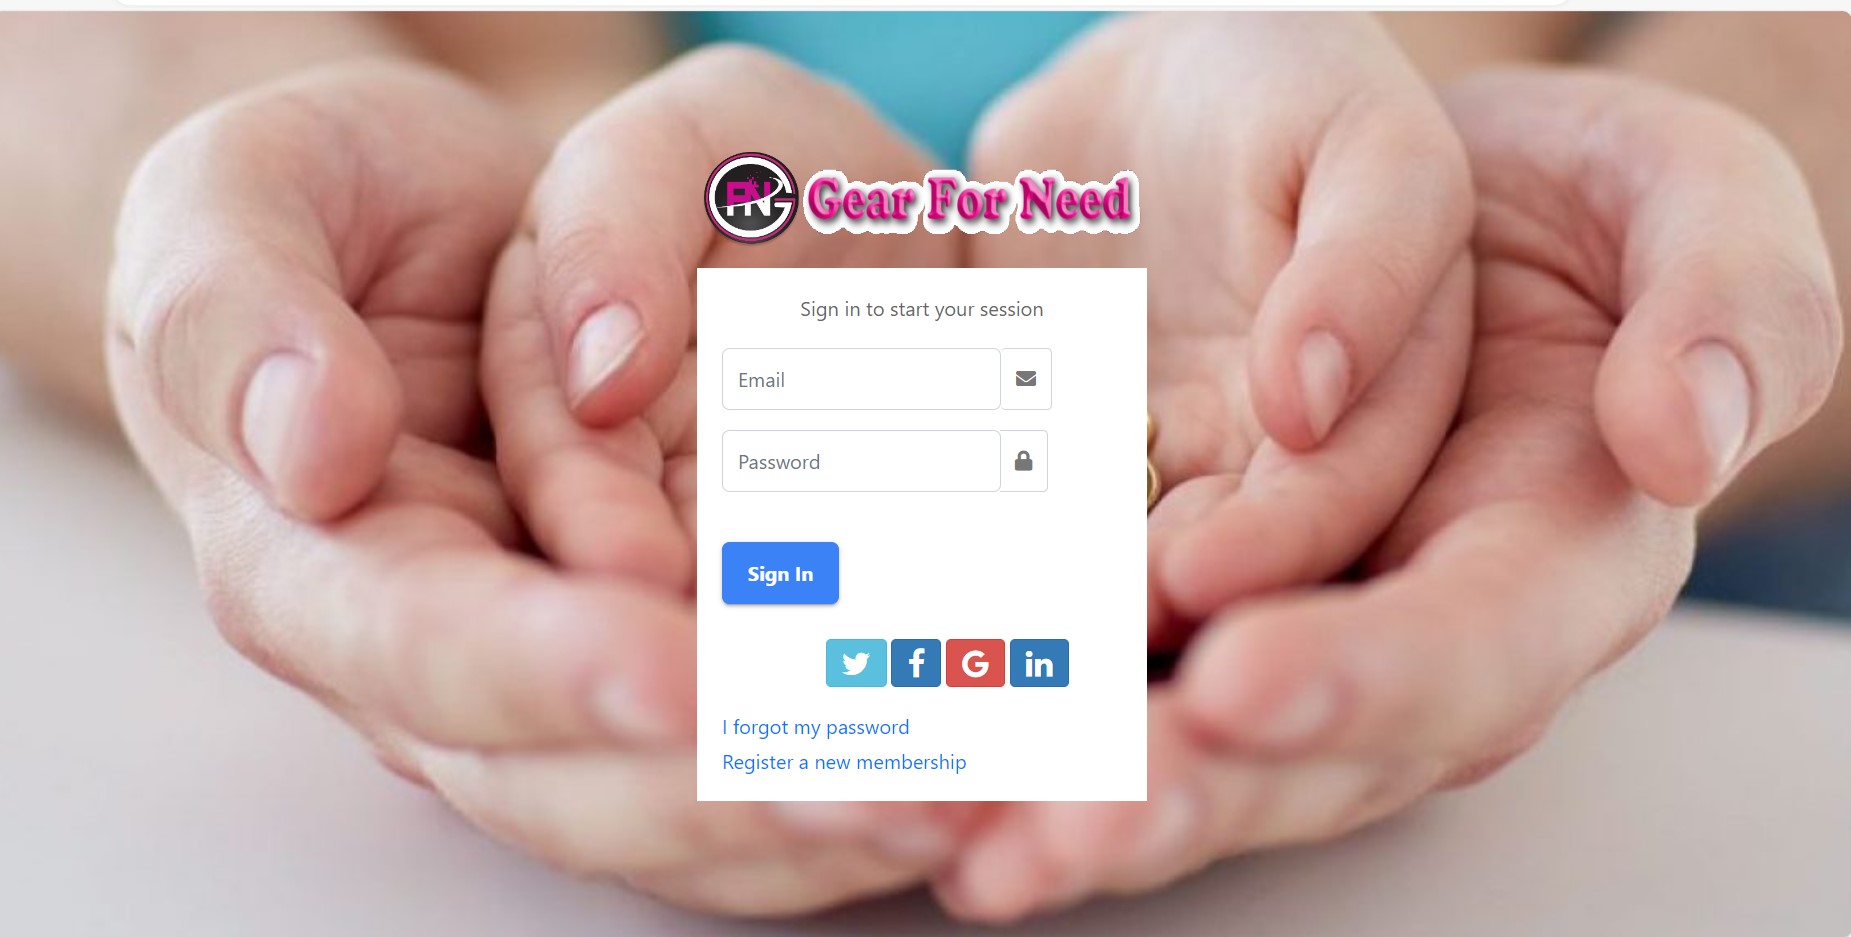
Now supervisor can login by using their email and password which is entered before in the signup form and then click on
Application Process for Fund Manager:
Flow Chart:
Process:
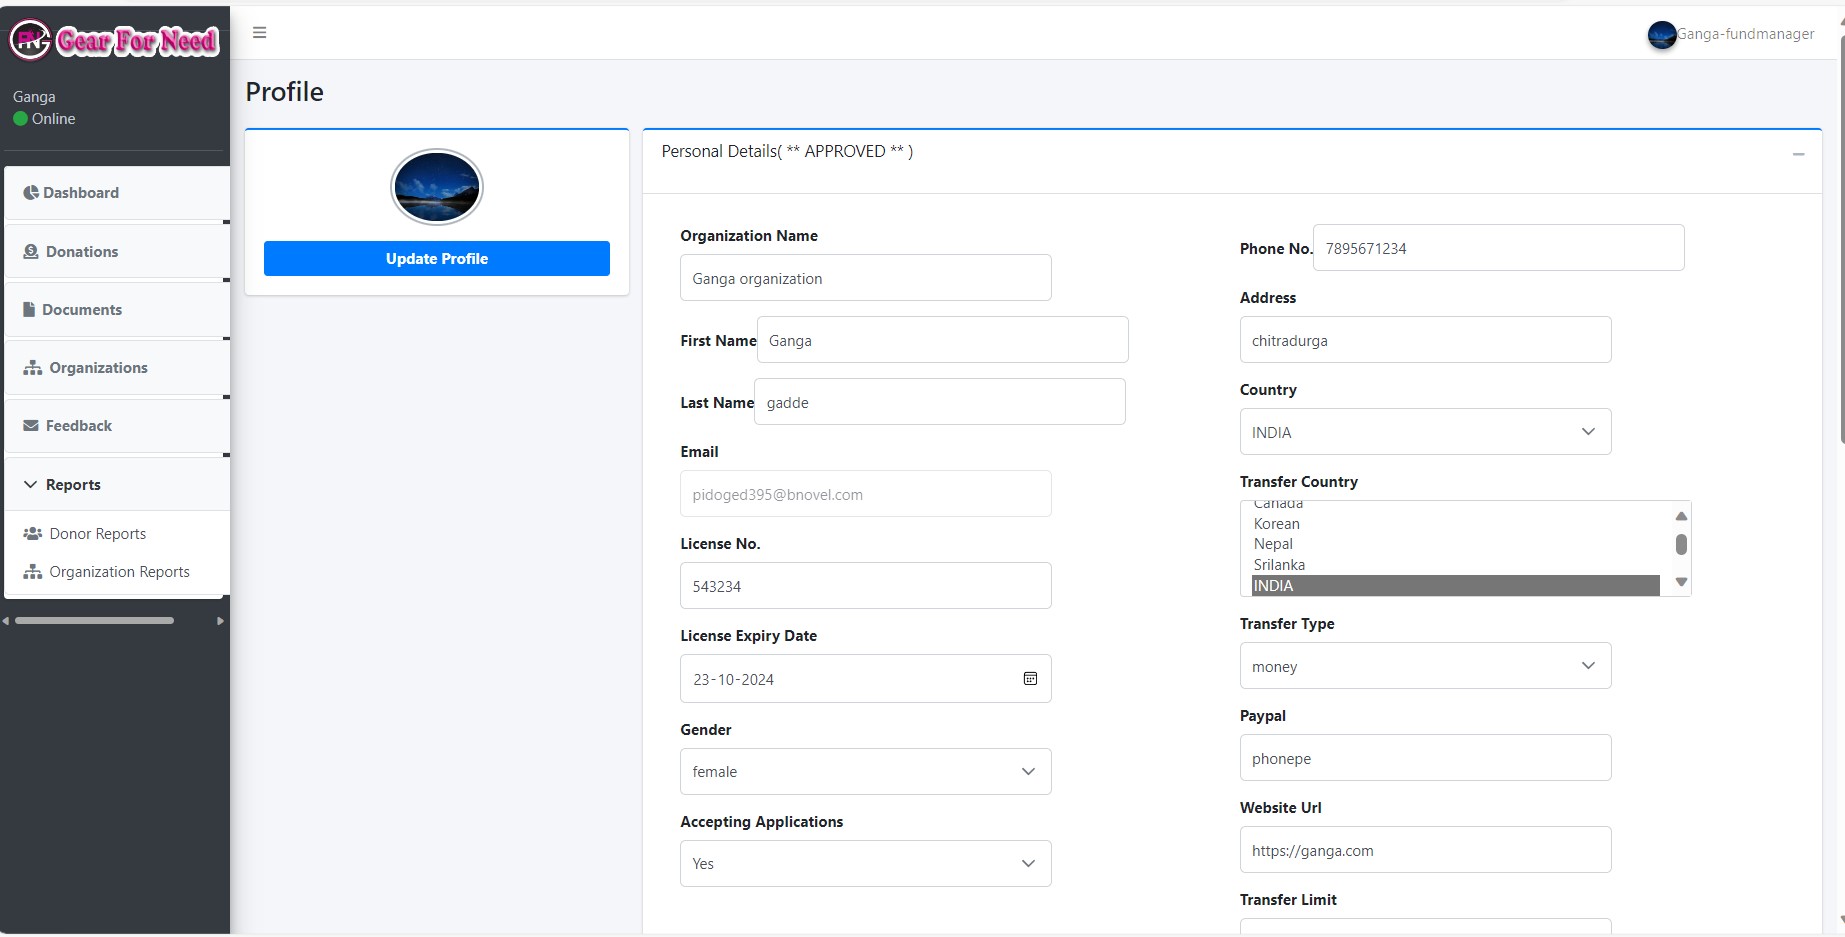
After Successful login, Fund manager can fill their details in the profile and save their data which is shown below.
- When the fund manager wants to go further usage, they need to approve from the Admin. So they have to apply for that. For this they go for application process.
- fund manager has to add some documents in the application process in order to apply the application. By using these documents Admin can approve or rejects the fund manager.
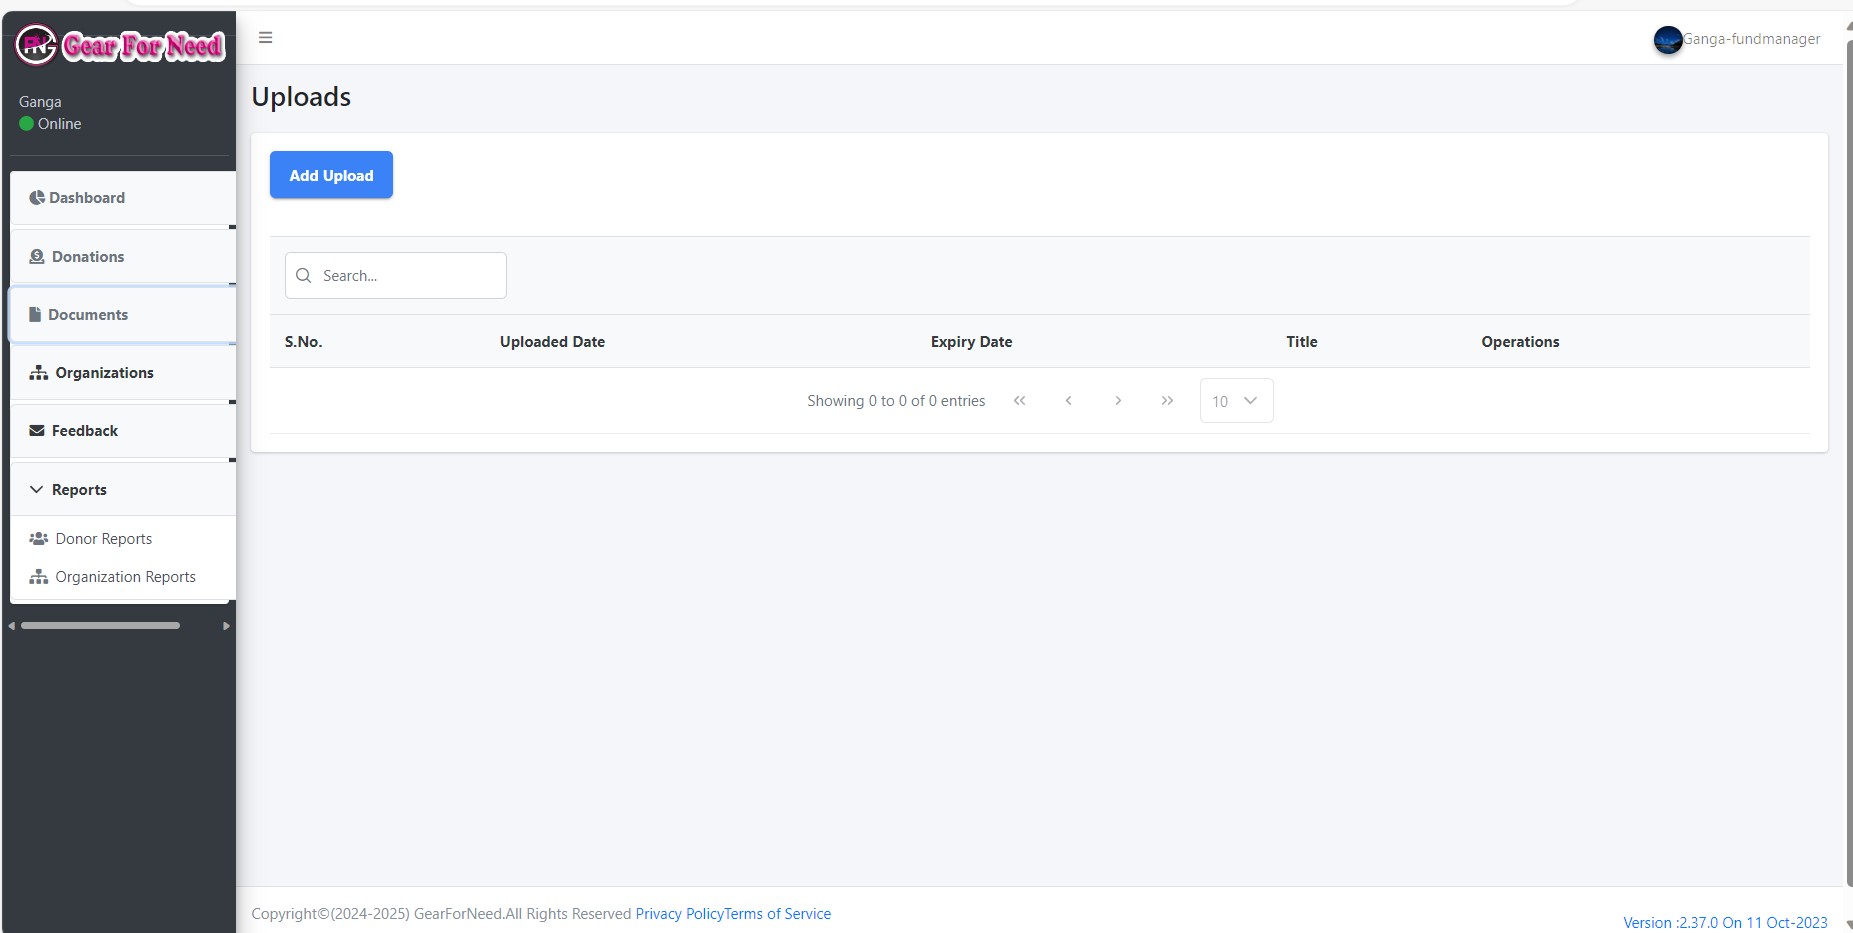
- For this Click on Documents option in the side menu, then we can reach uploads page which is shown in below.
Fund manager documents:
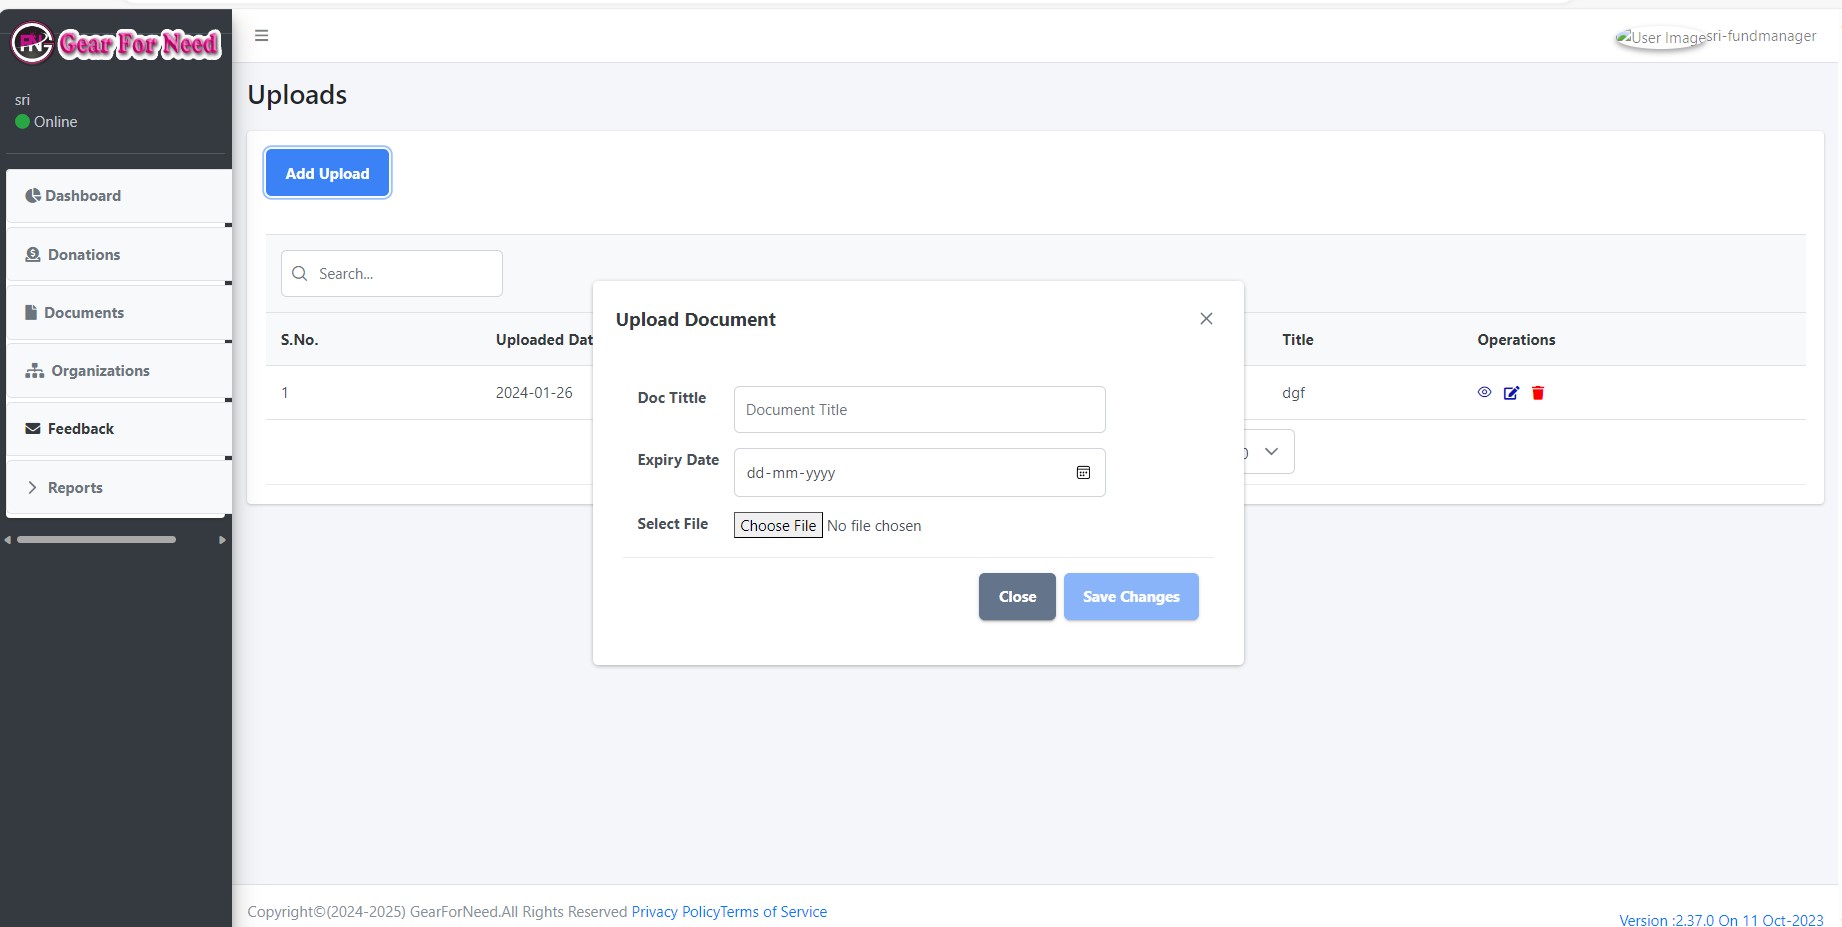
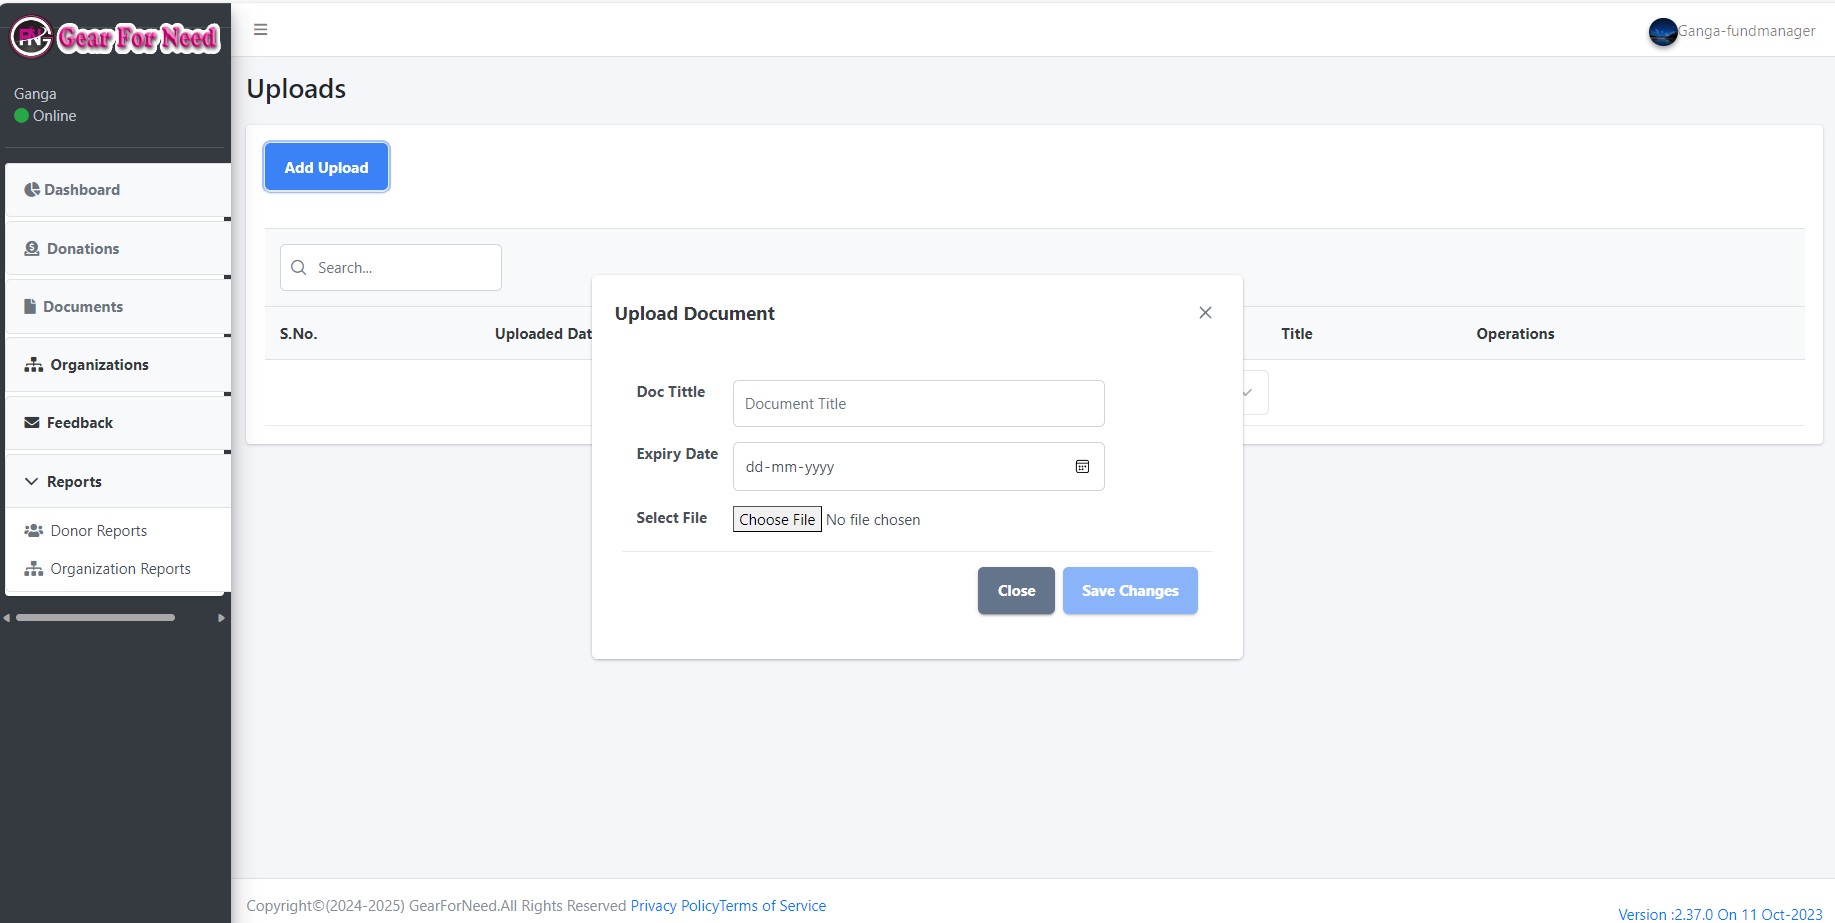
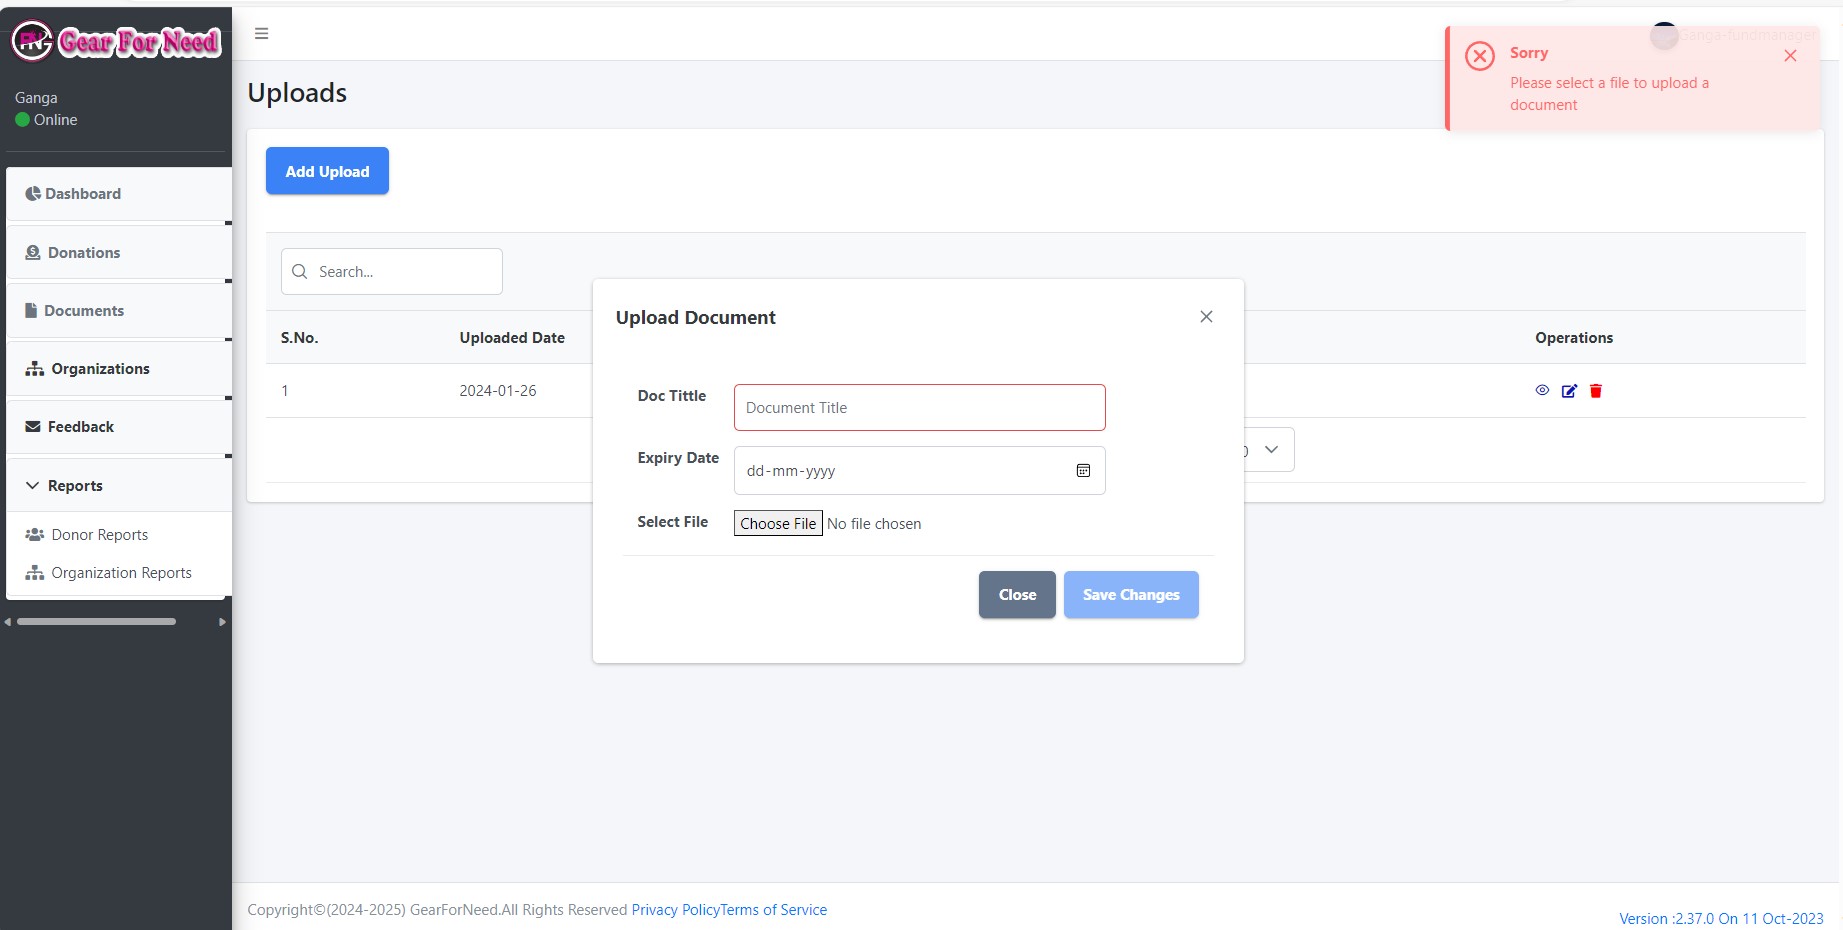
Add your documents here by clicking on Add upload button in the left corner, then you will see a popup box like this
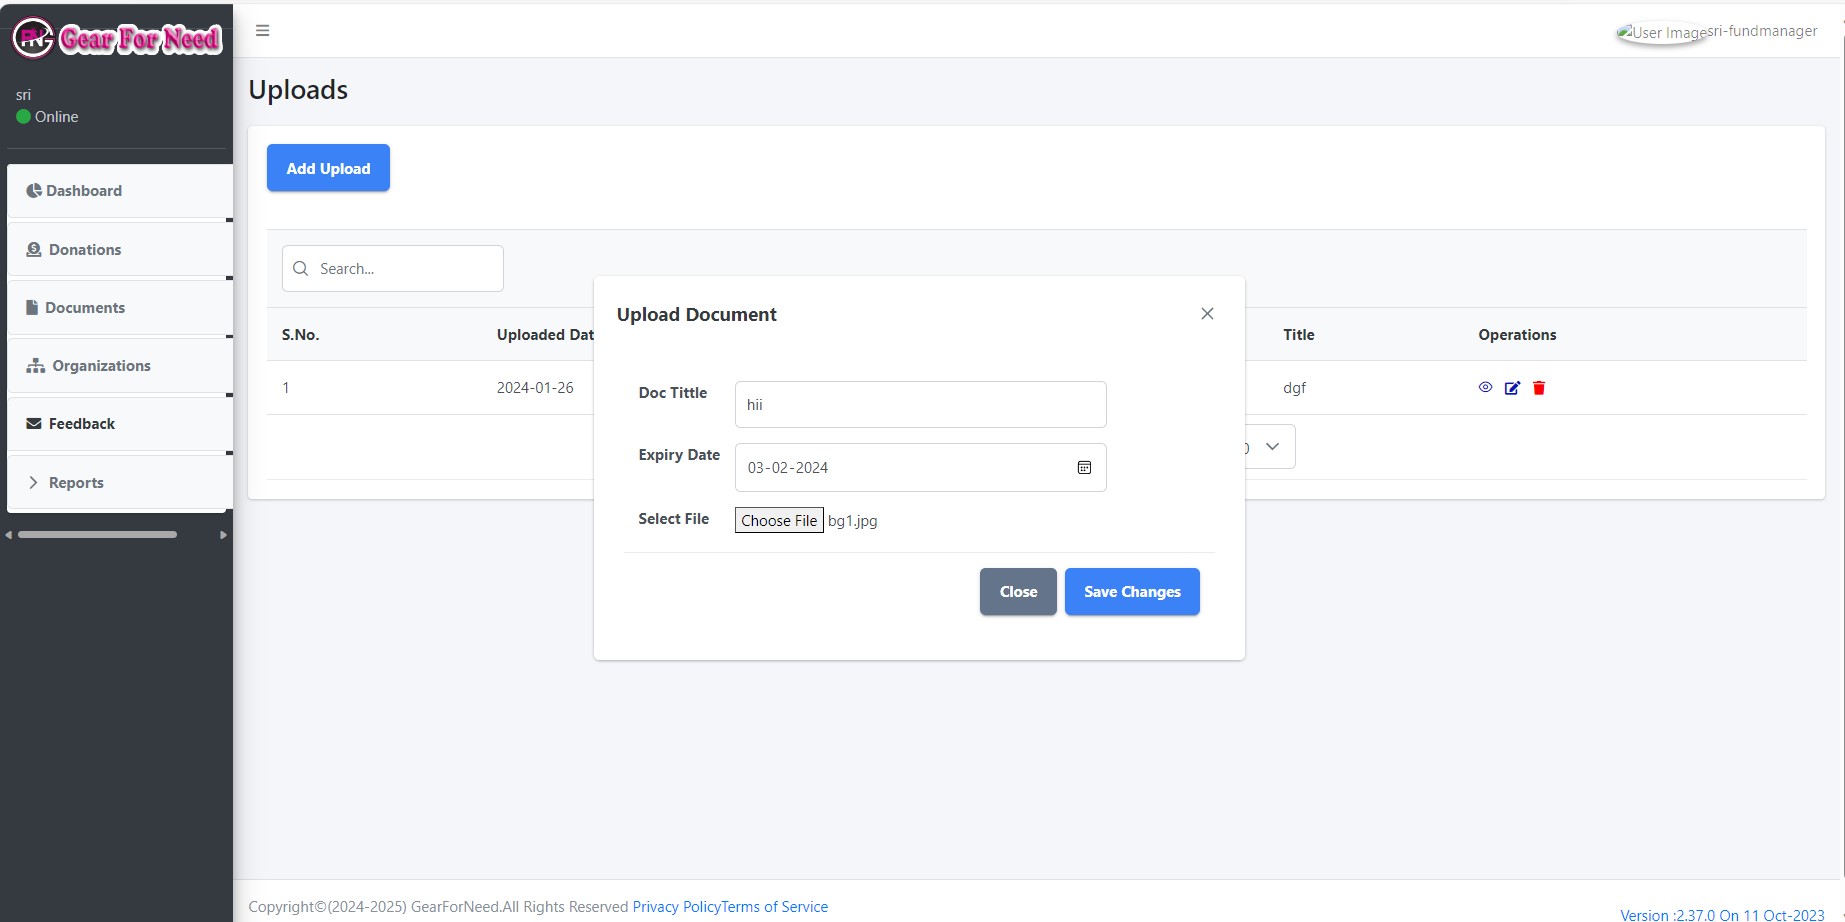
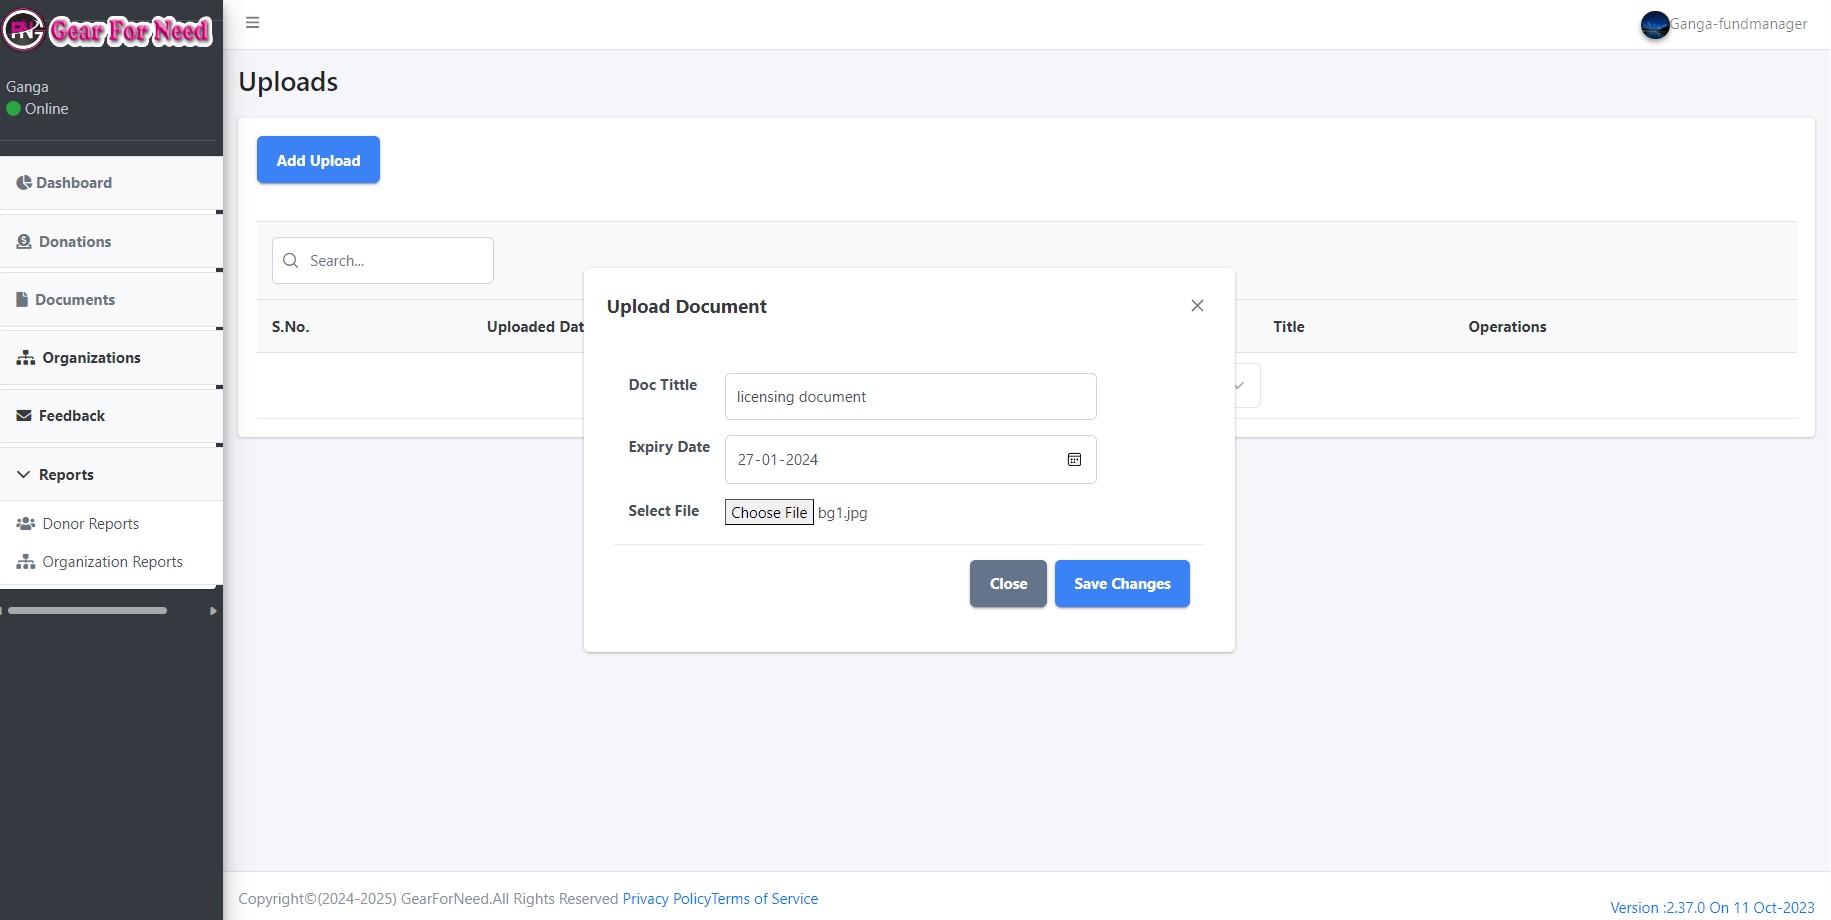
Fill the fields and click on Save changes like this
When your upload has any error then it shows a message like this
If you filled the details correctly then it will be added and shows a success message like this
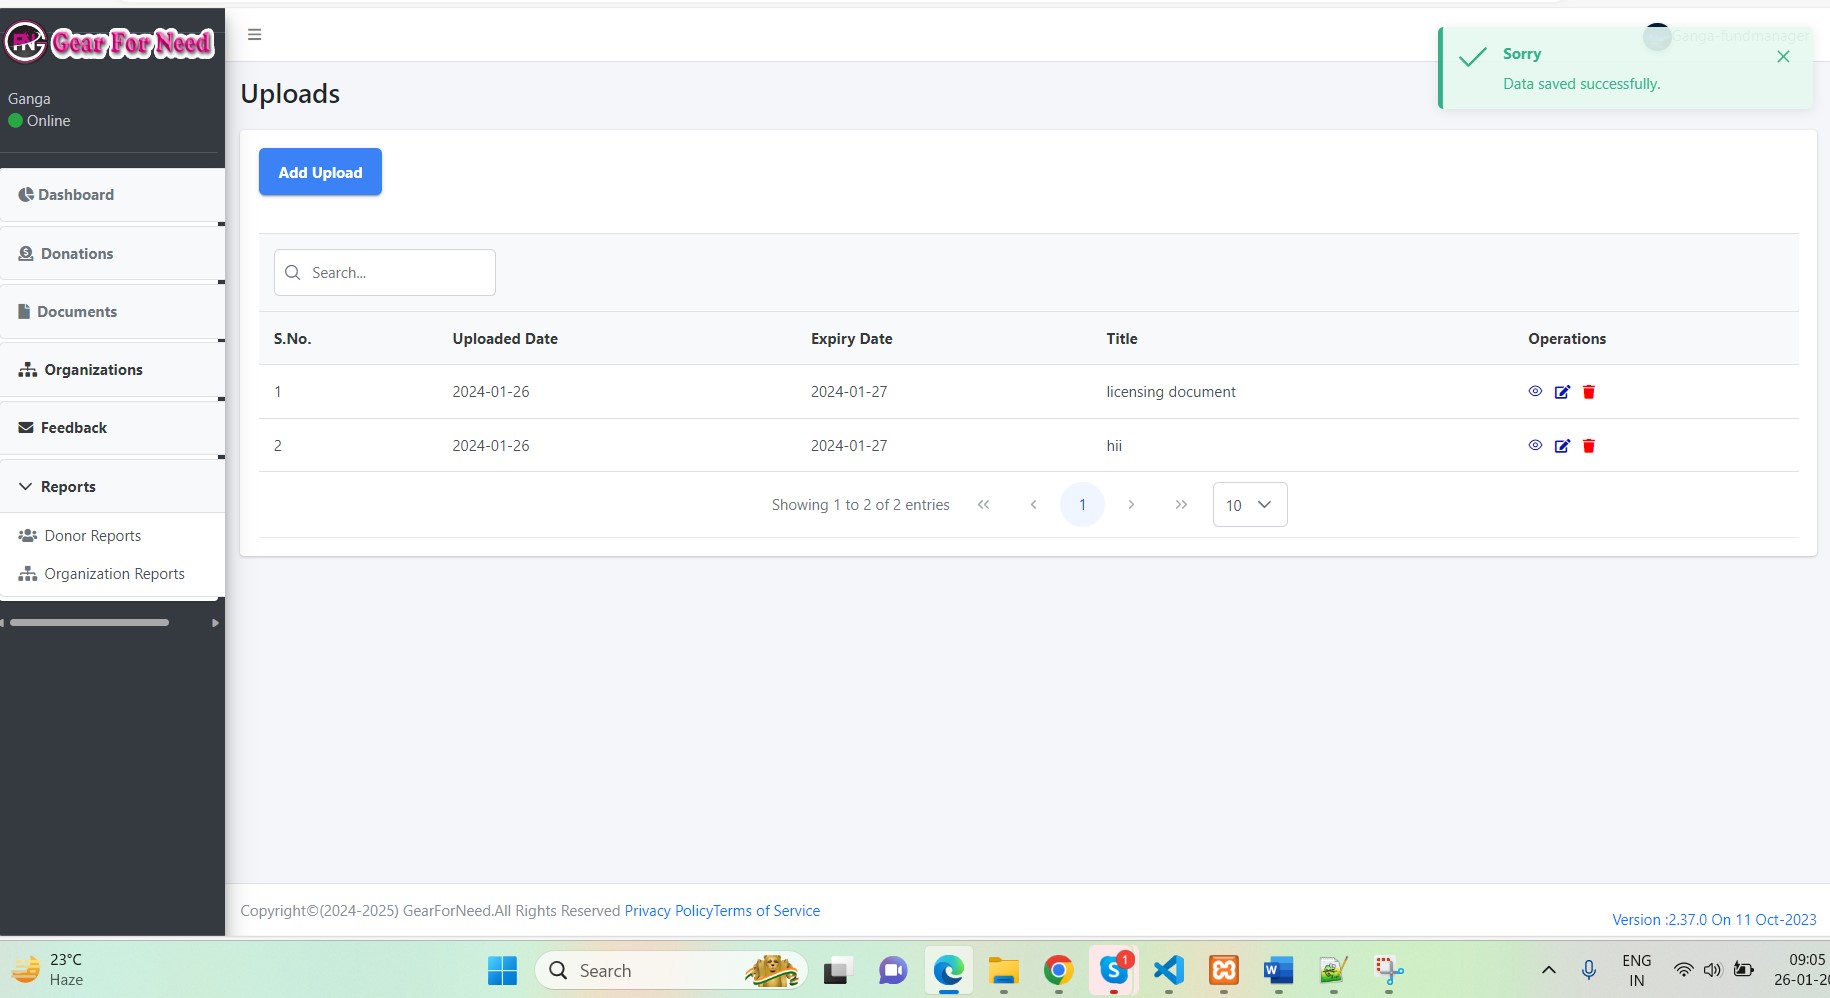
- Add more documents as possible to the list.
- Coming to the application process, in the profile menu they can have the option of applications shown in below,
Click on the Applications menu will reach us to the application page shown in below.
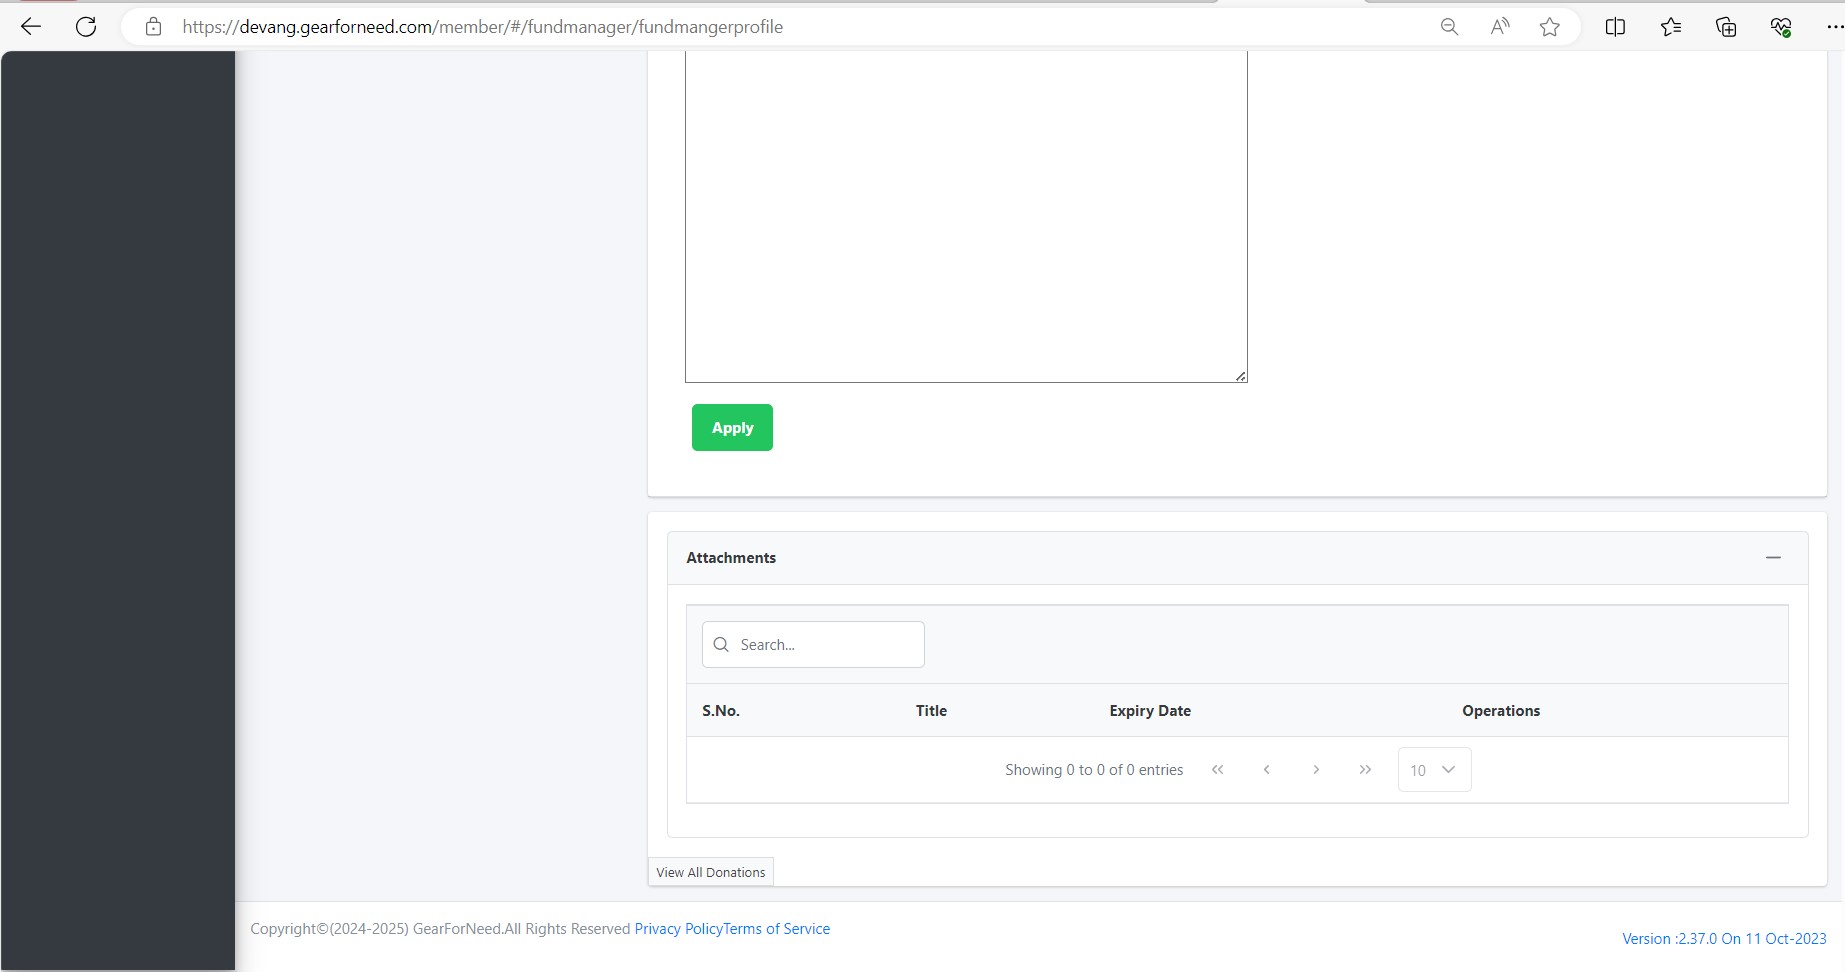
- To apply the application, click on New application button which is shown in the left corner.
- When click on the button then it goes to application process page will appears and shown like this
- In this page you have to enter the description about themselves or the reasons why they want to do this.
- And then they have to attach the document files which are added before.
- For this, they have to click on attachments button. Then a popup box will be appears like this
- Select the documents which you want to added for the application process and then click on Save changes button will shows like this
After click on save changes, the upload documents will added to the application and shows like this
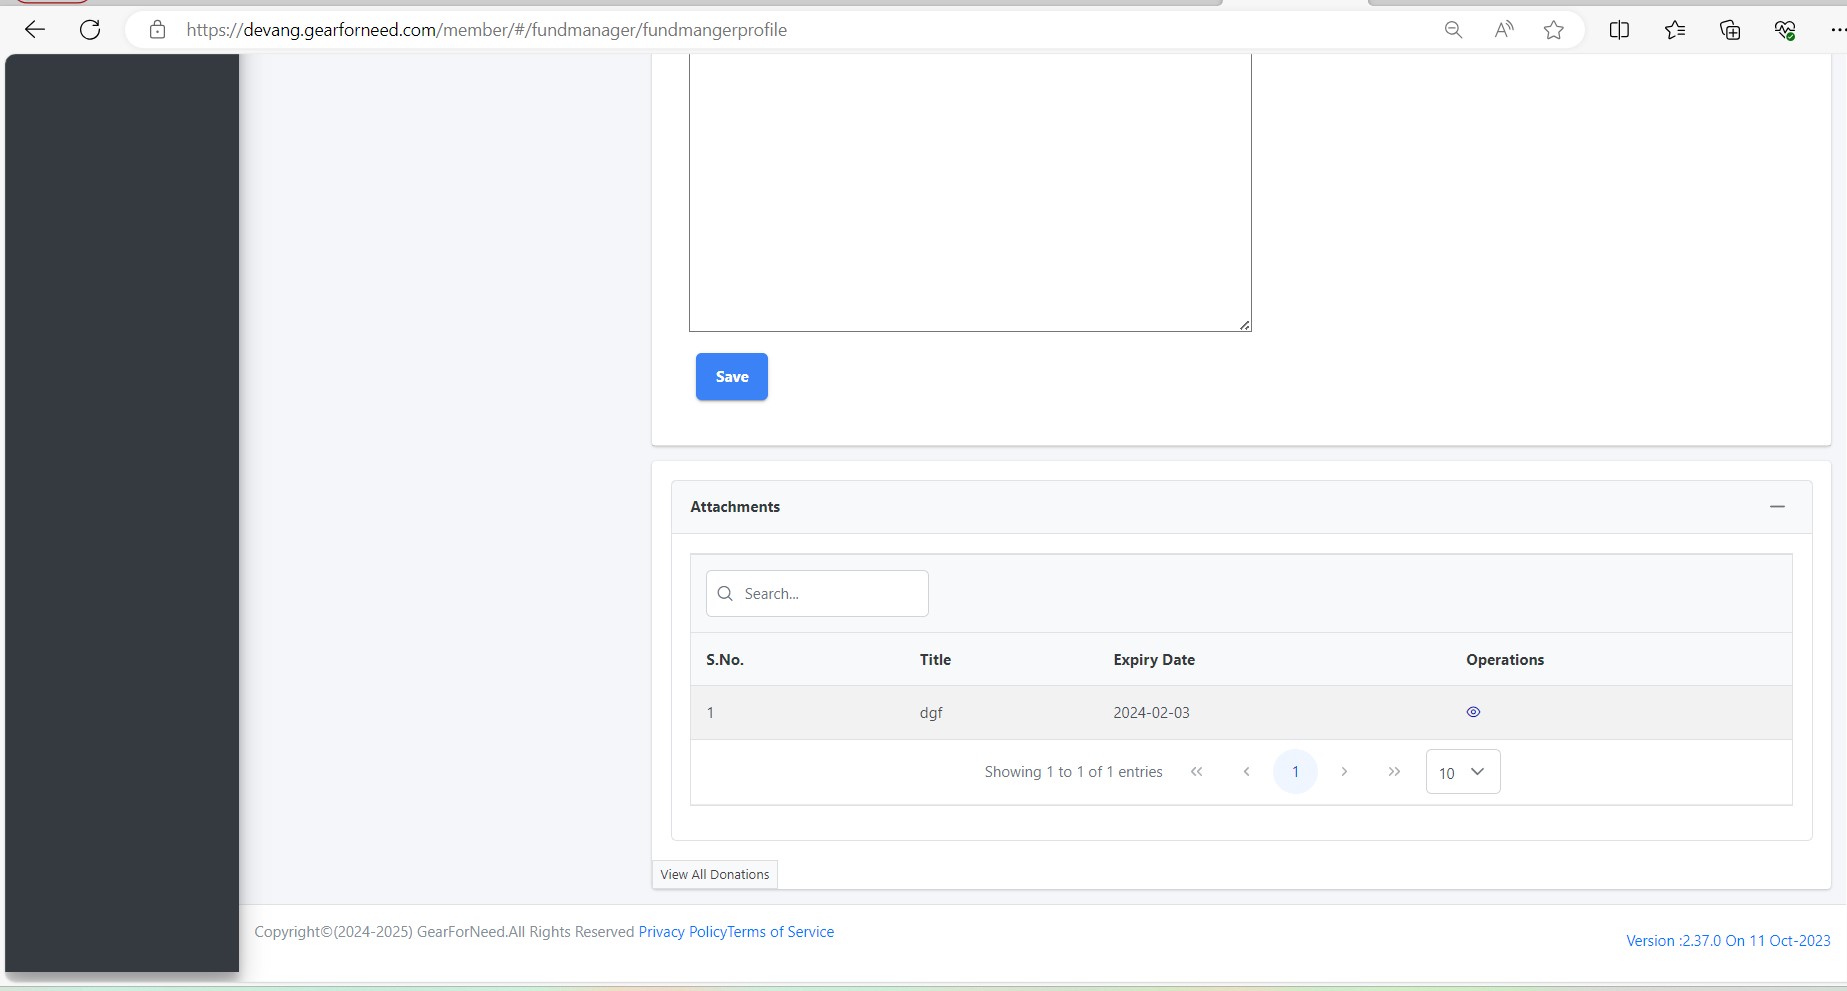
Click on save button to save your application details and it redirects to the applications list with status NEW will be shown like this
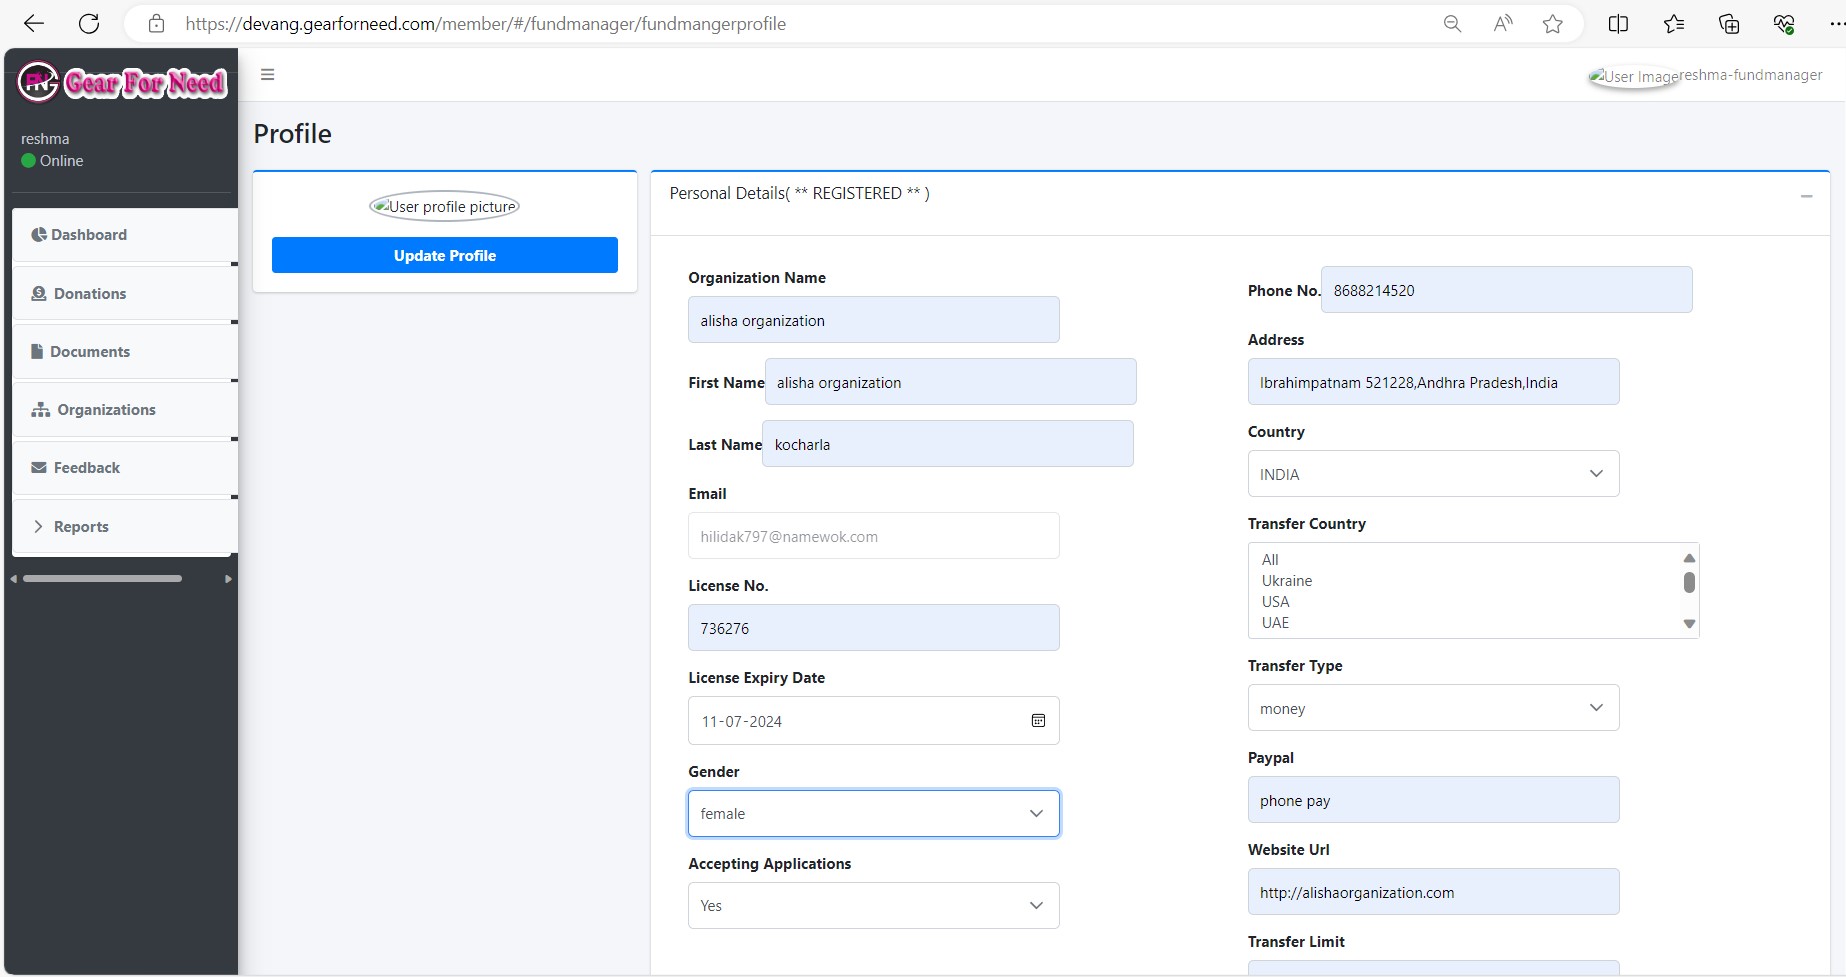
Fund manager can view the application details by clicking on eye icon in the table then it redirects to the application view page and shows like this
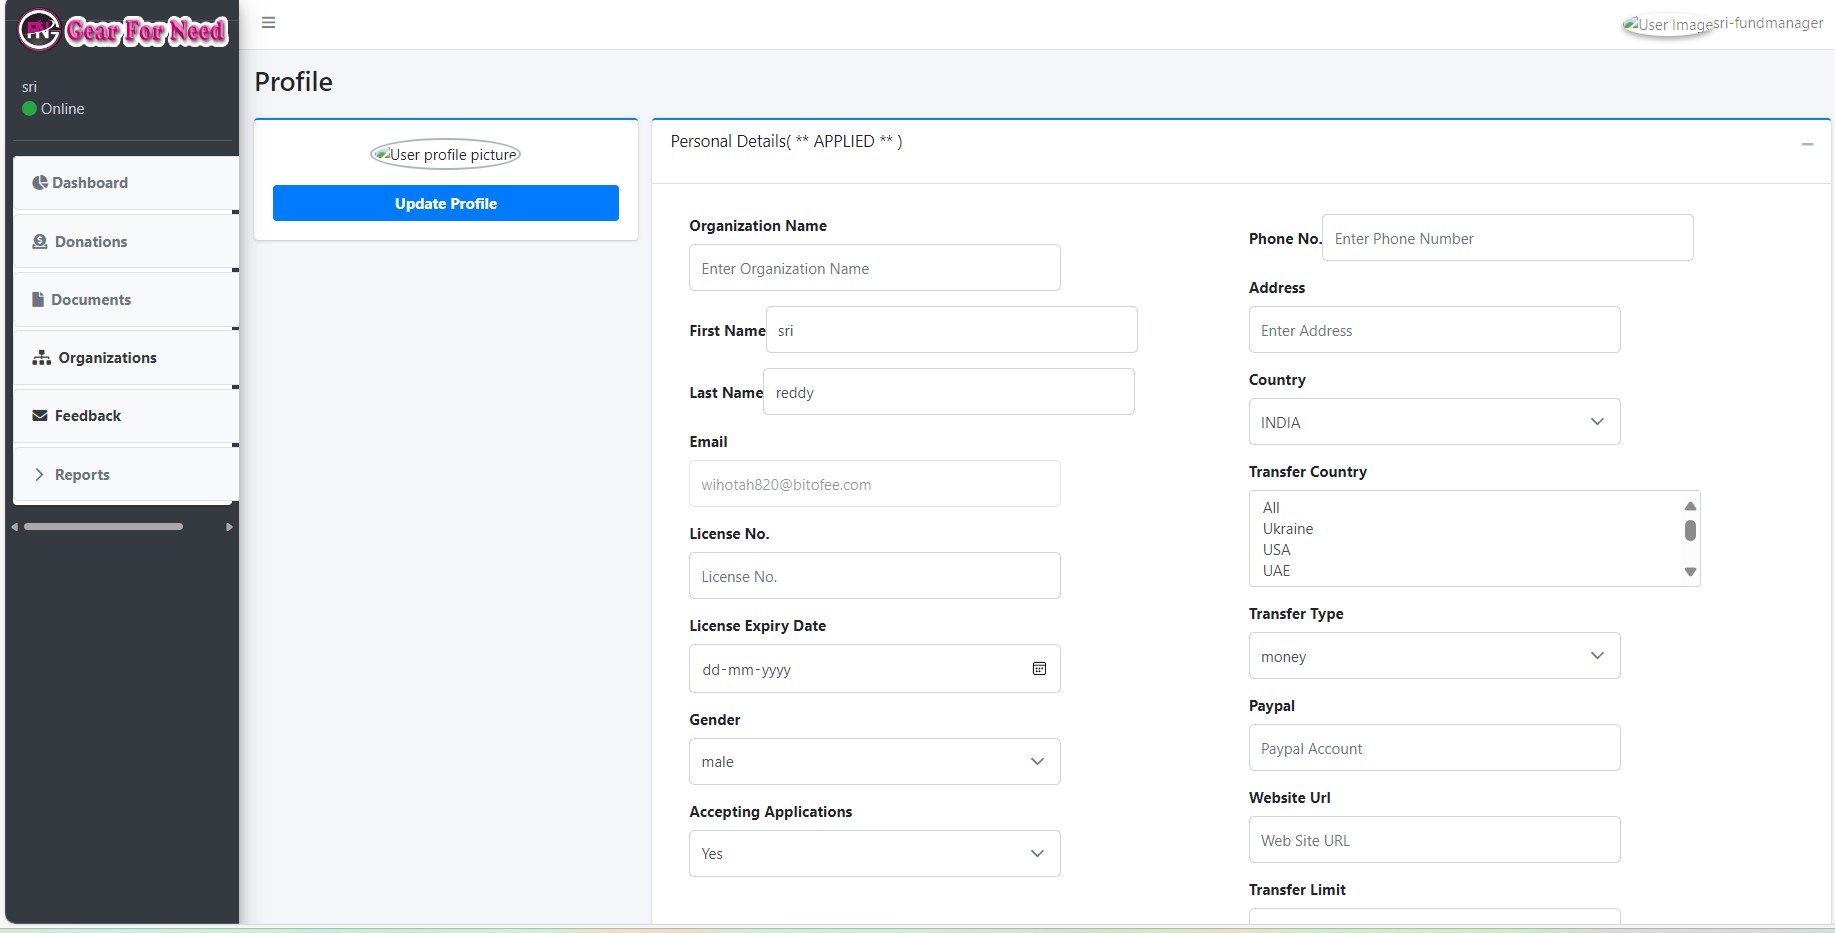
Admin approves/rejects the application process:
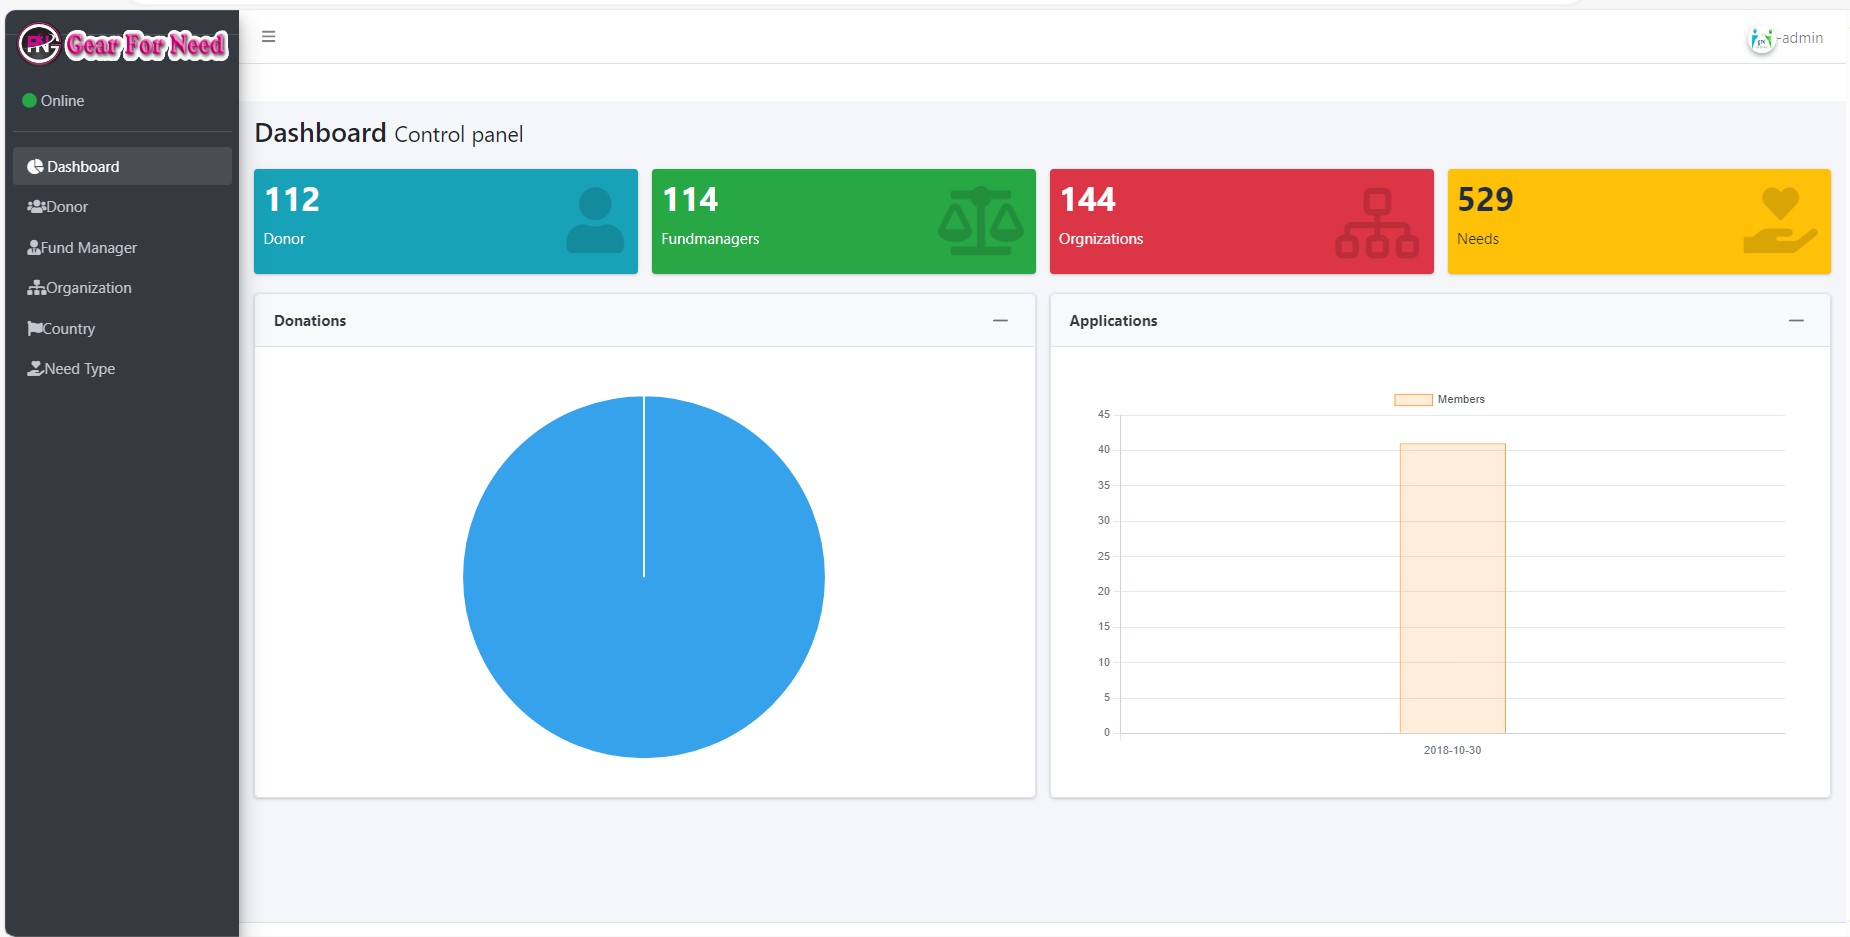
- When the fund manager applies to the Admin then the list of donors and their application lists can be shown in the list of Donors which is placed in the side menu.
- It will shown like this
Click on fund manager option then you will see the list of fund manager shown in below
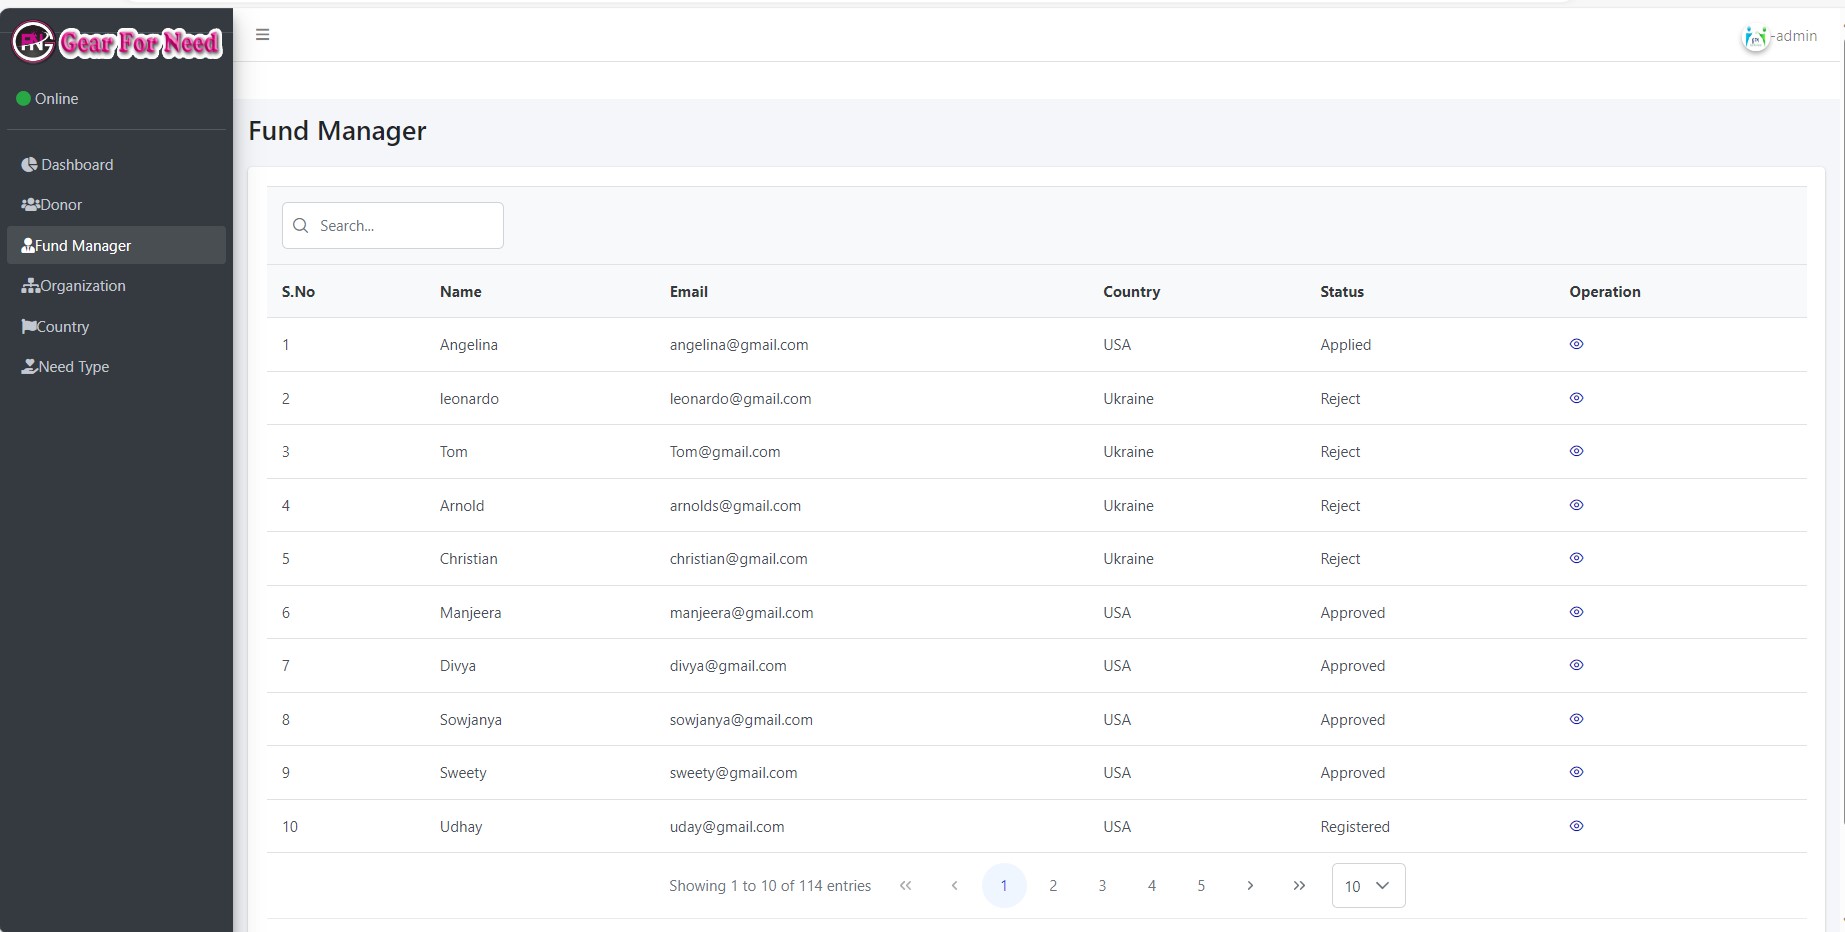
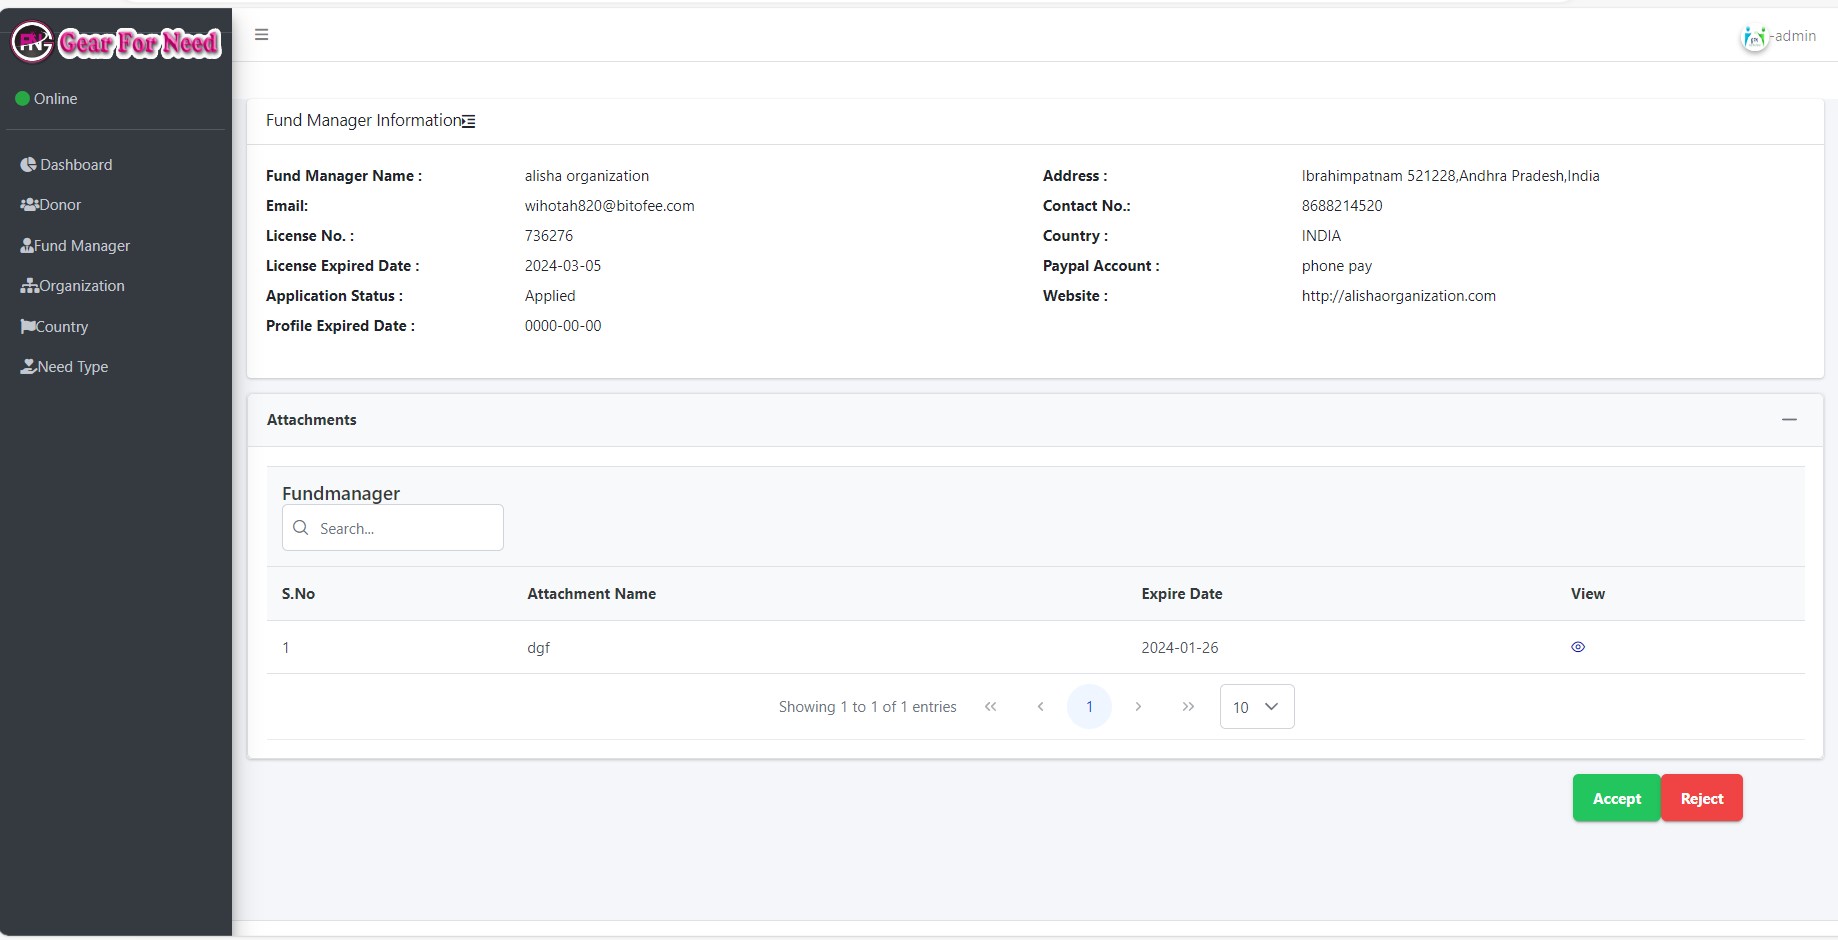
- Here the admin can check the status of the fund manager and the admin can approve or rejects the application of the fund manager by clicking on eye icon in the list shown in below.
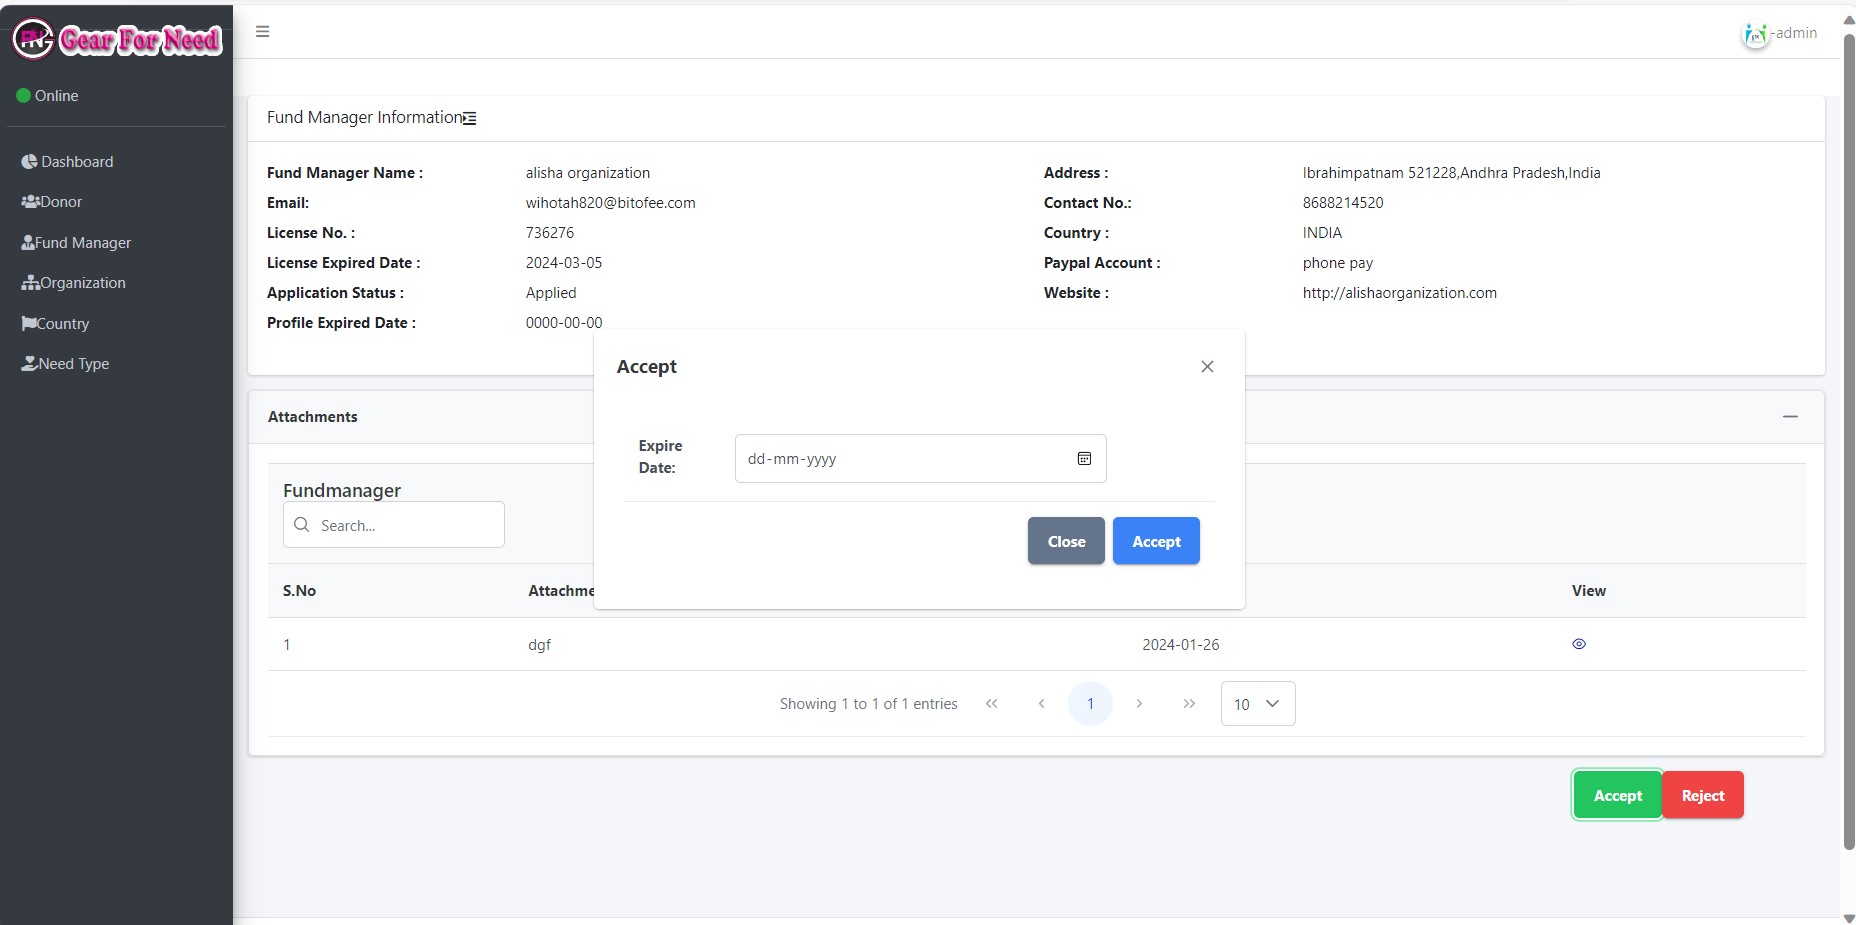
- When admin clicks on Accept button then it will shows a popup box like this
- Add expiry date and then click on Accept to complete the approval of fund manager.
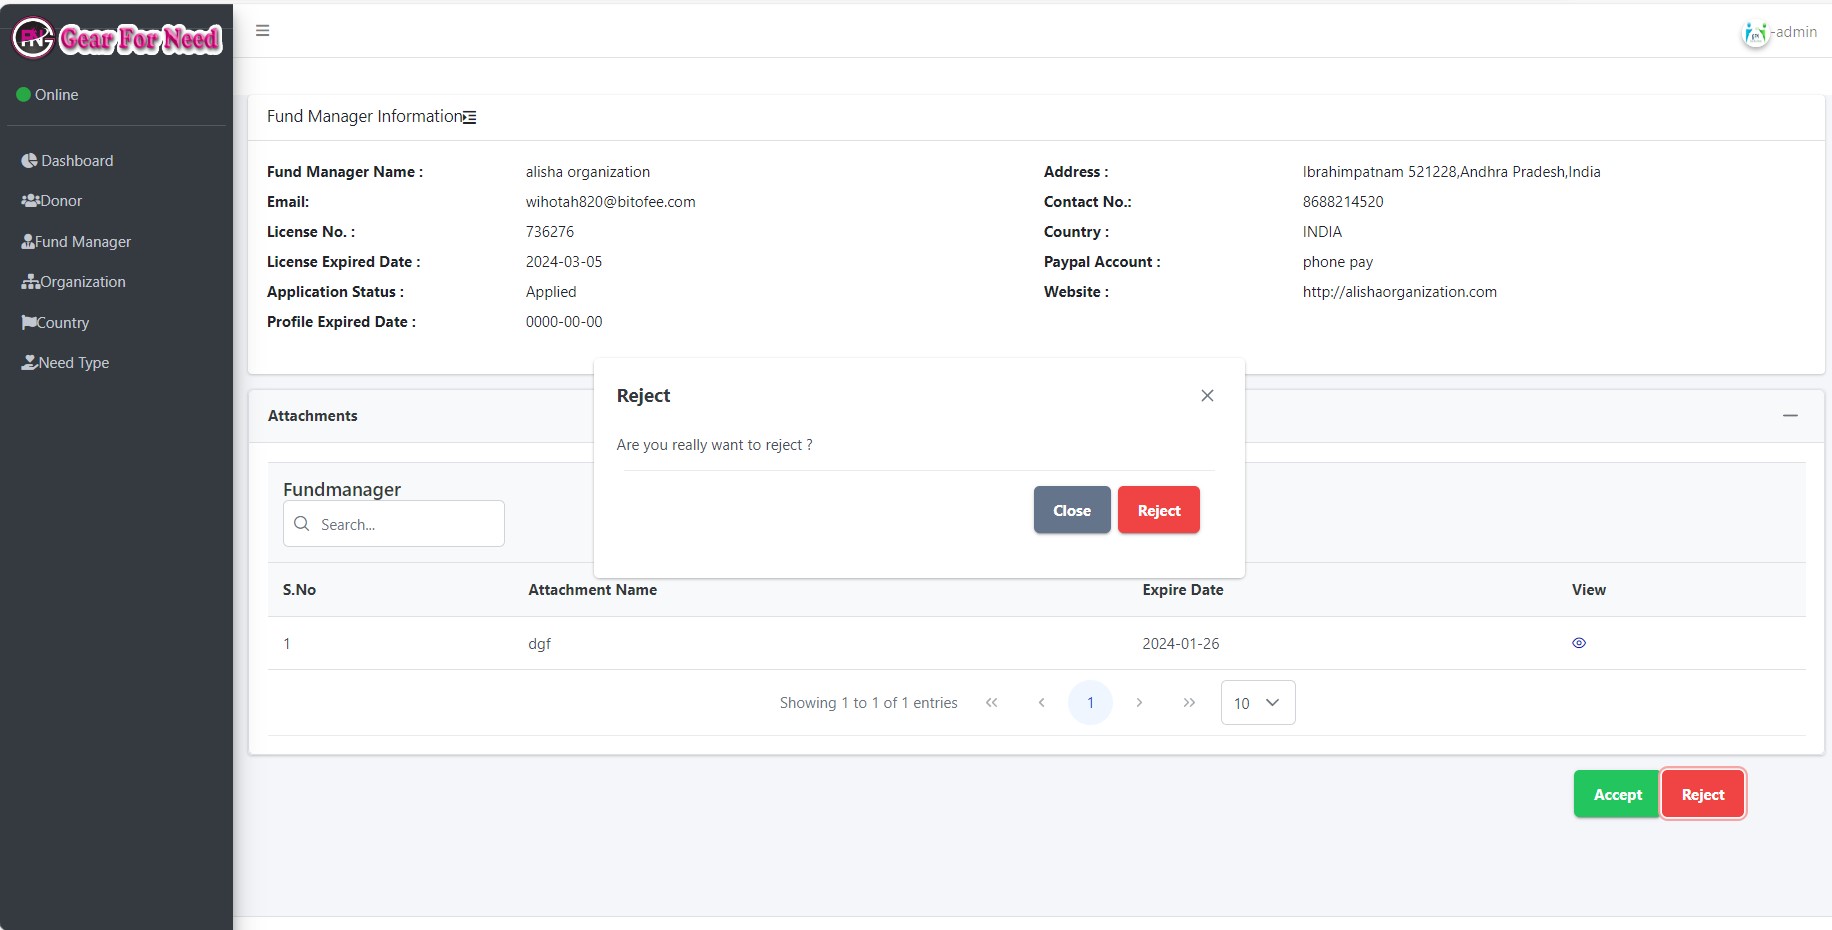
- If the Admin reject the application then a popup will be shown like this
Click on ok and then the application will be rejected and then the status in the list will be shown like this.
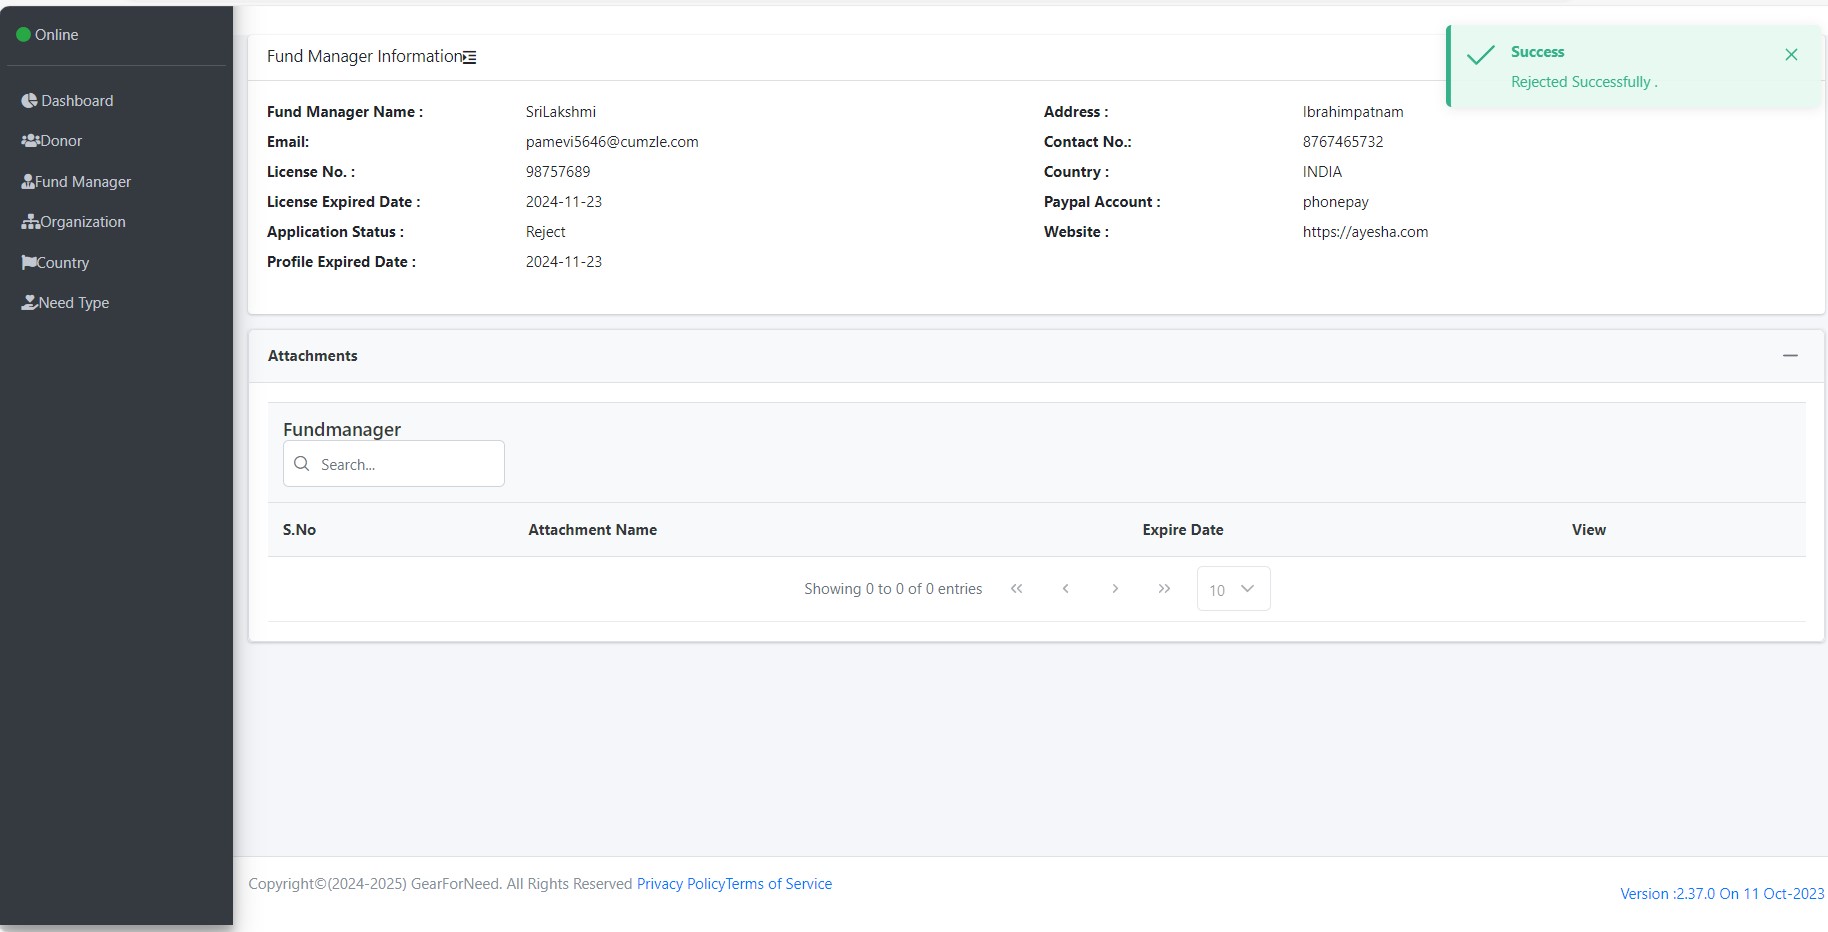
In the fund manager list it will shown like this